Jalapeño Cheddar Venison Snack Sticks

on Jul 26, 2026, Updated Aug 04, 2026
This post may contain affiliate links. Please read our disclosure policy.
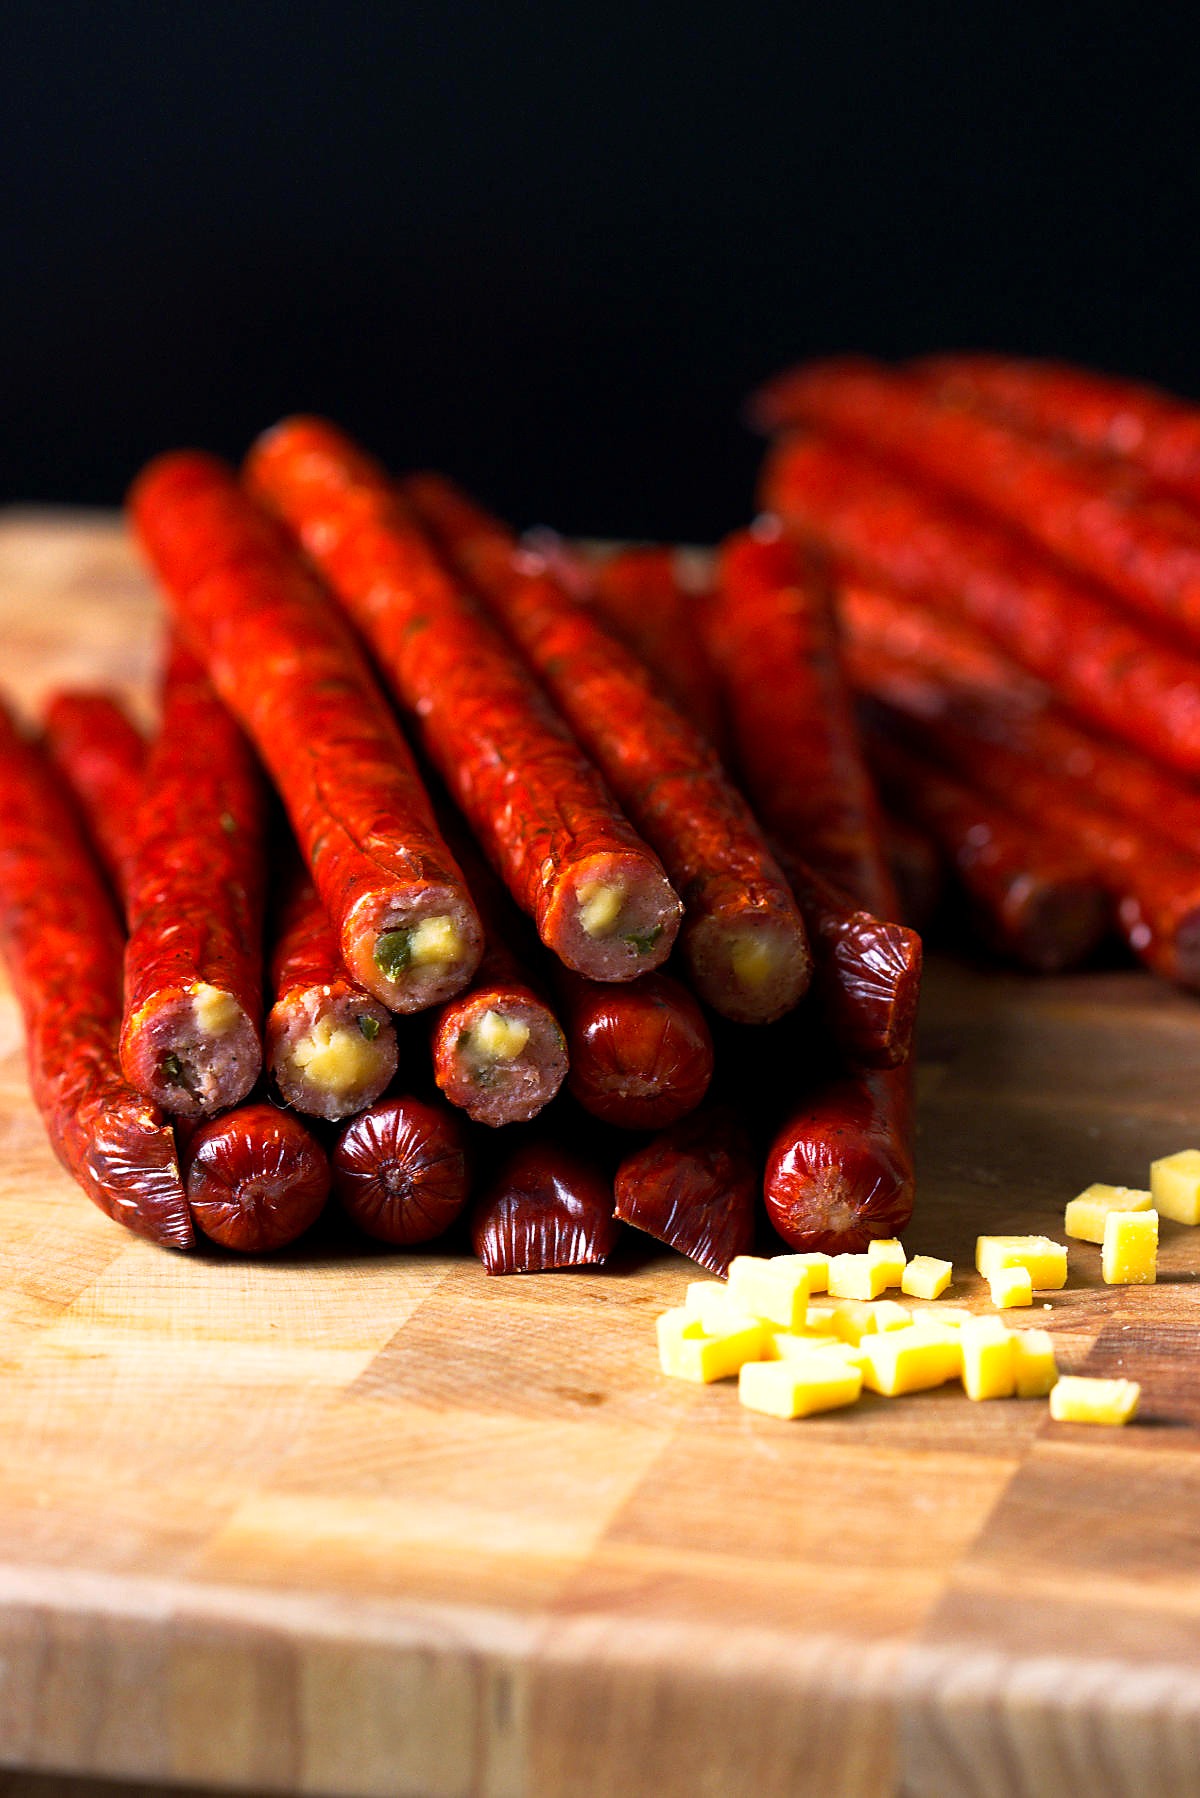
Jalapeño Cheddar Venison Snack Sticks are smoky, savory, a little spicy, and loaded with cheddar in every bite. This version uses venison blended with beef, pork, and pork back fat. These snack sticks are moist and snappy, not dry and bland.
The flavor leans classic snack-stick with a little extra attitude. Fermento gives them that tangy cured-meat flavor, nonfat dry milk helps the meat bind, and dehydrated jalapeños bring a steady pepper flavor without making the mixture watery. Make a big batch, chill them down, and you have freezer-ready snacks for hunting trips, game day, road trips, or standing in front of the fridge pretending you only came back for one more.
Why These Smoked Snack Sticks Rule
This is a big-batch recipe built for flavor, texture, and storage. The blend gives you the wild-game character of venison with enough pork and fat to keep the finished sticks tender.
Big snack-stick flavor: Venison, pork, beef, cheddar, jalapeño, chipotle, and pepper flakes make these smoky, savory, and just spicy enough.
Juicy texture: Pork back fat helps keep the snack sticks from drying out during the smoke.
Classic tang: Fermento gives the sticks that familiar cured-meat bite without a long fermentation process.
Cheese in every bite: Extra sharp cheddar and white cheddar add richness and little pockets of flavor.
Freezer-friendly: This batch is perfect for vacuum sealing, freezing, and grabbing whenever you need a quick protein snack.
Pro Tips for the Best Venison Snack Sticks
Snack sticks are all about temperature control and a good bind. Keep the meat cold, mix the meat until tacky, and do not rush the smoking process.
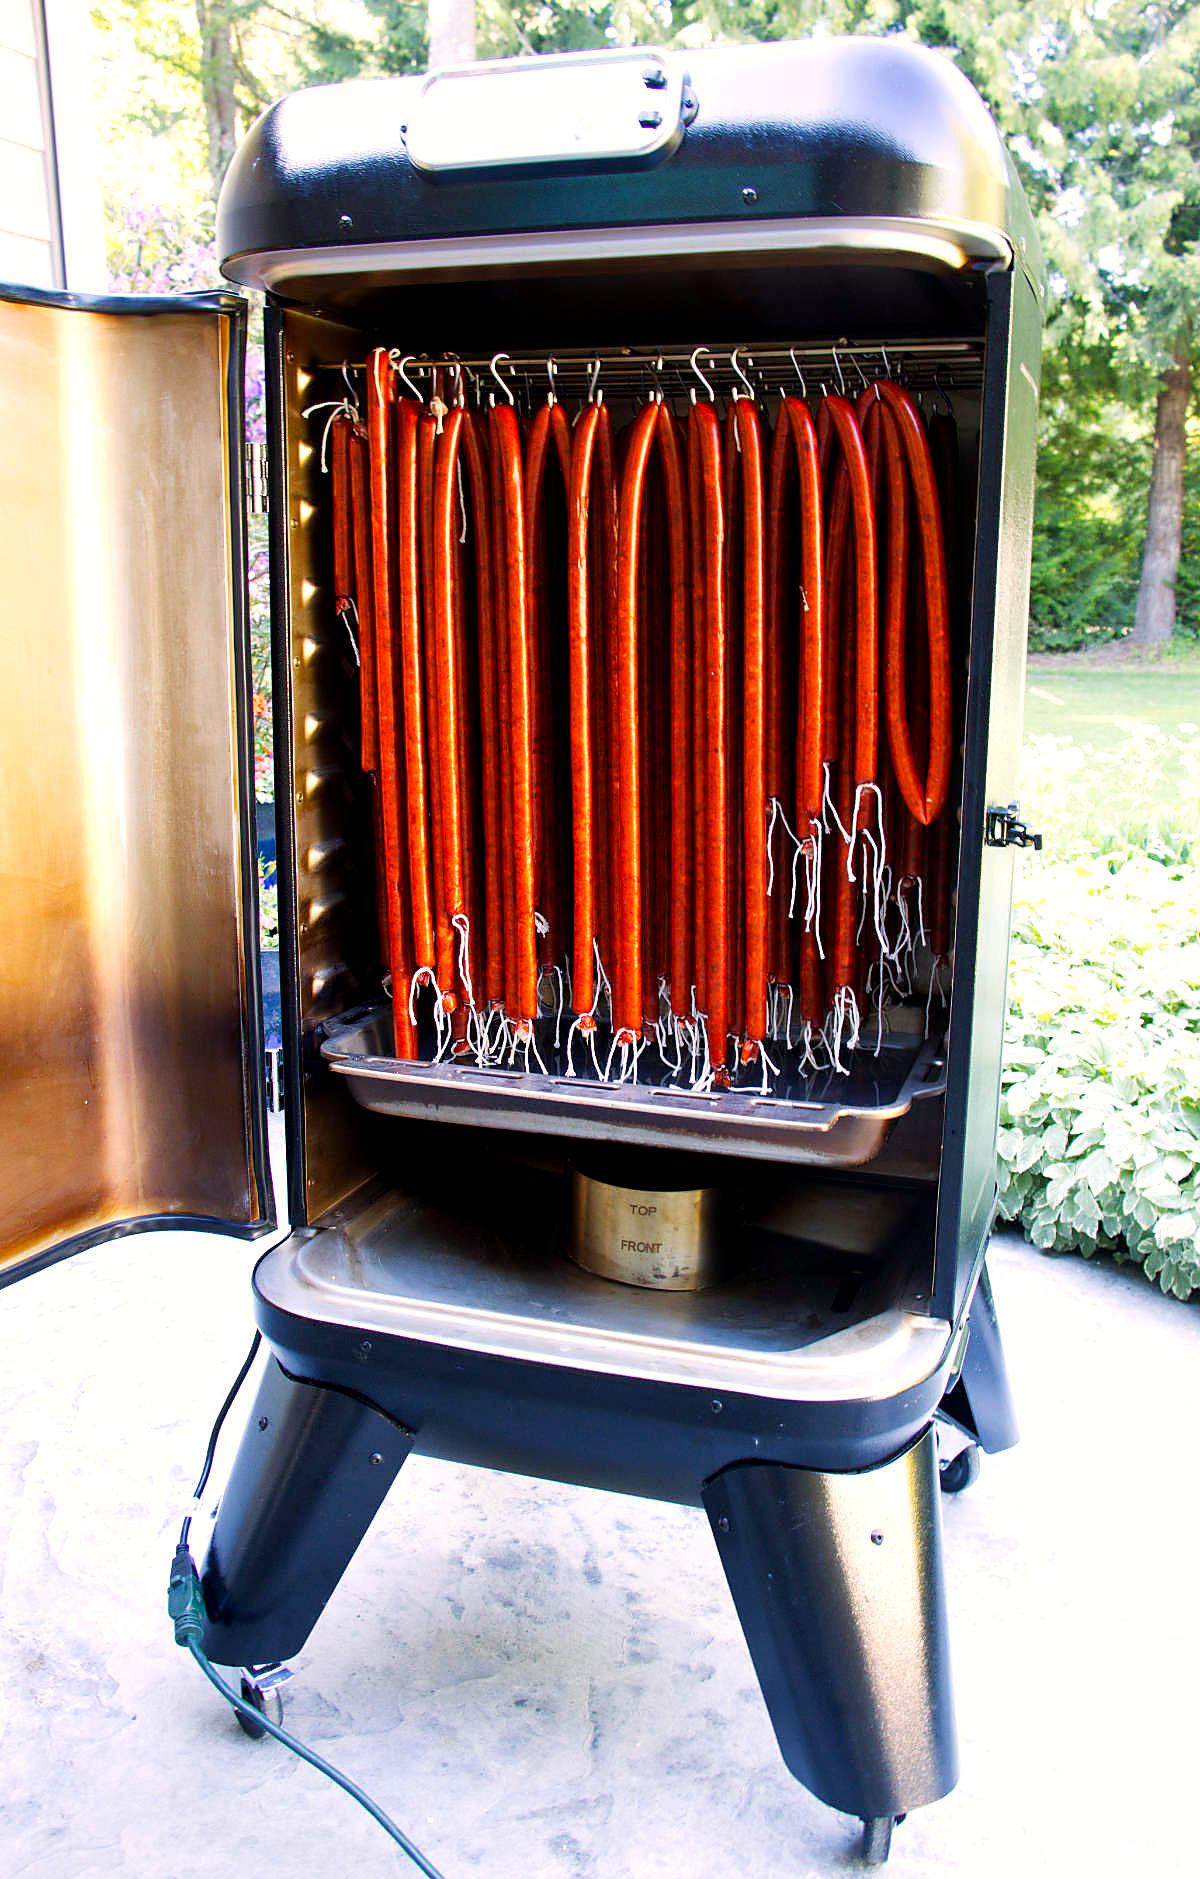
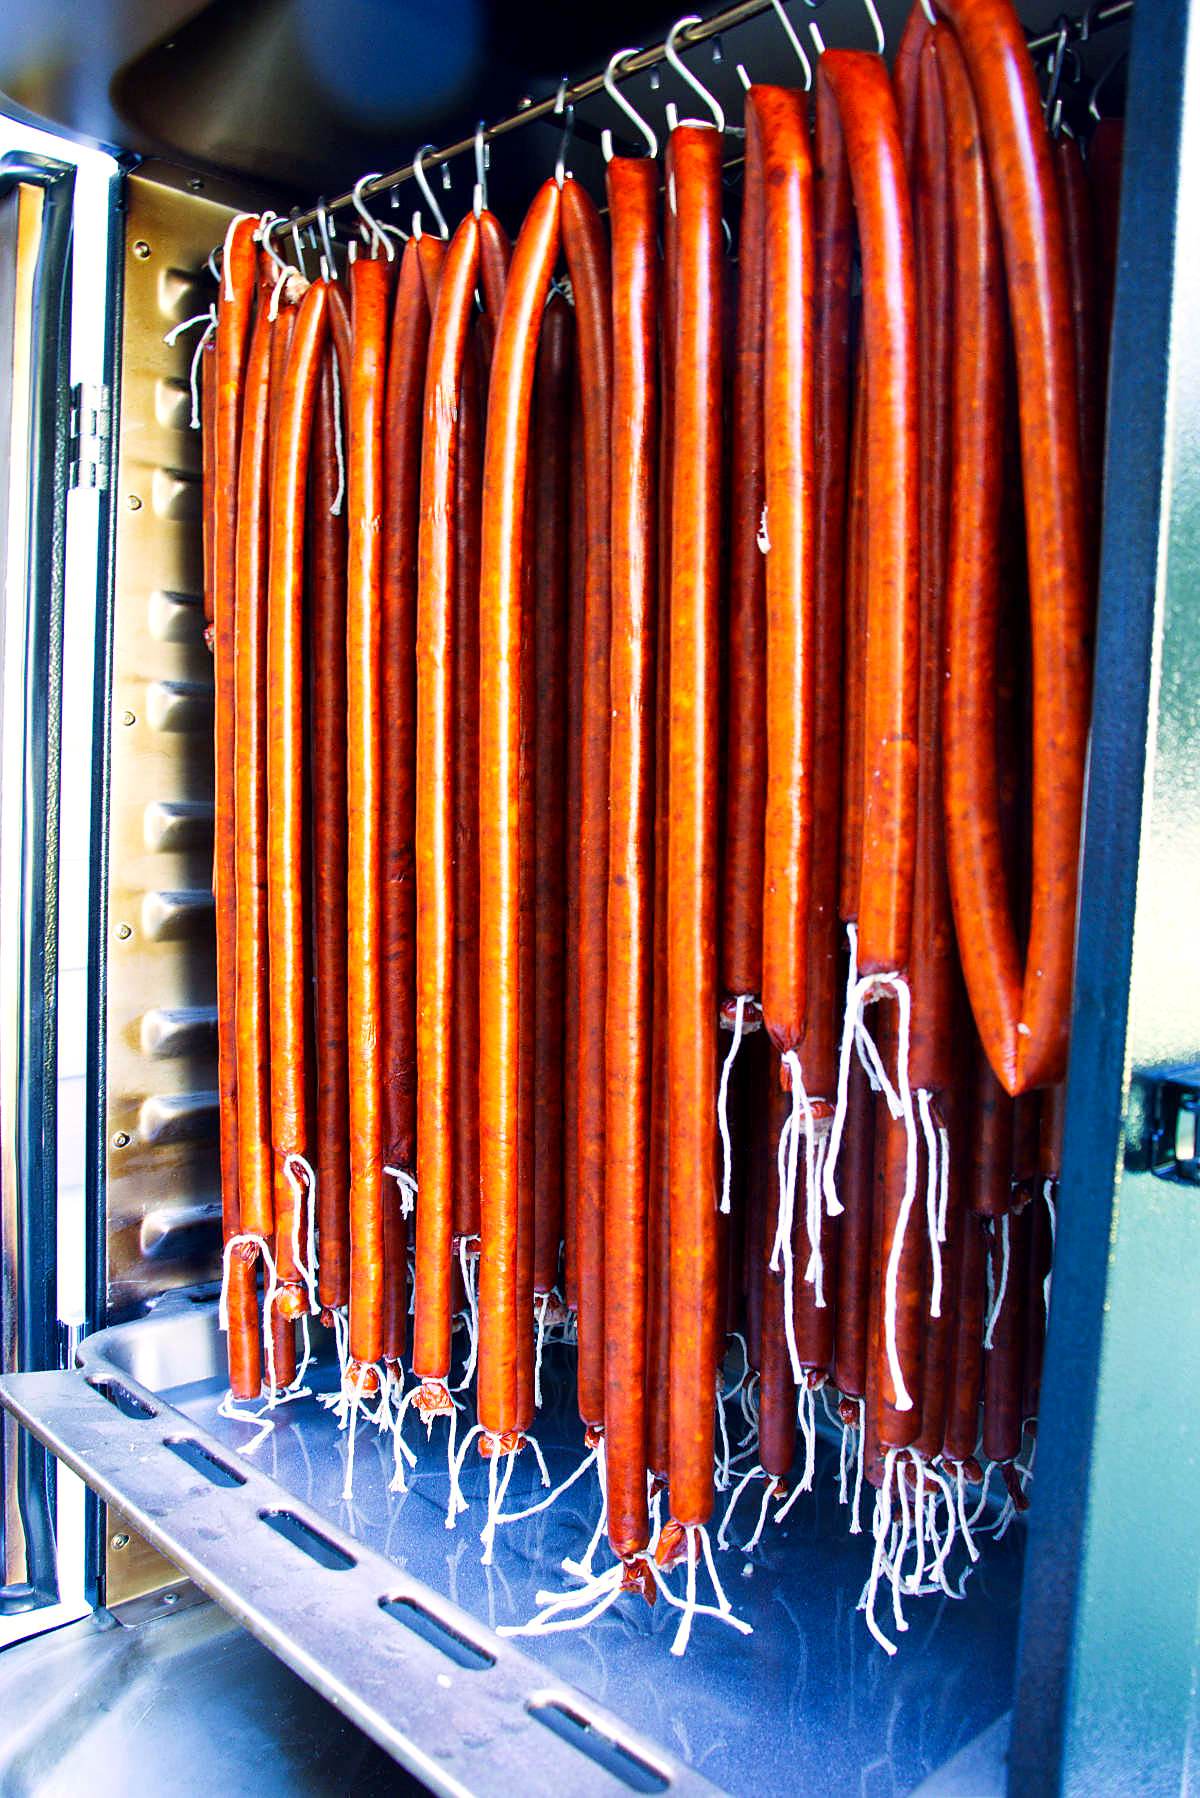
Cook by temperature: Smoke low and steady until the sticks reach a safe internal temperature, then cool them quickly. Smoke in stages, starting at 120°F and working up to 170°F until the snack sticks reach an internal temperature of 160°F.
Keep everything cold: Chill the meat, fat, grinder parts, and mixing tub before you start. Cold fat grinds cleaner and gives the finished sticks a better texture.
Mix until tacky: The meat mixture should feel sticky before stuffing. That tacky texture is what helps the snack sticks bind instead of turning crumbly.
Use the right casing: These are made with 17mm collagen snack stick casings, which give you that classic slim snack-stick shape. You can also use 19mm or 21mm casings.
Do not overstuff: Fill the casings firmly, but leave enough give so they do not split as they cook.
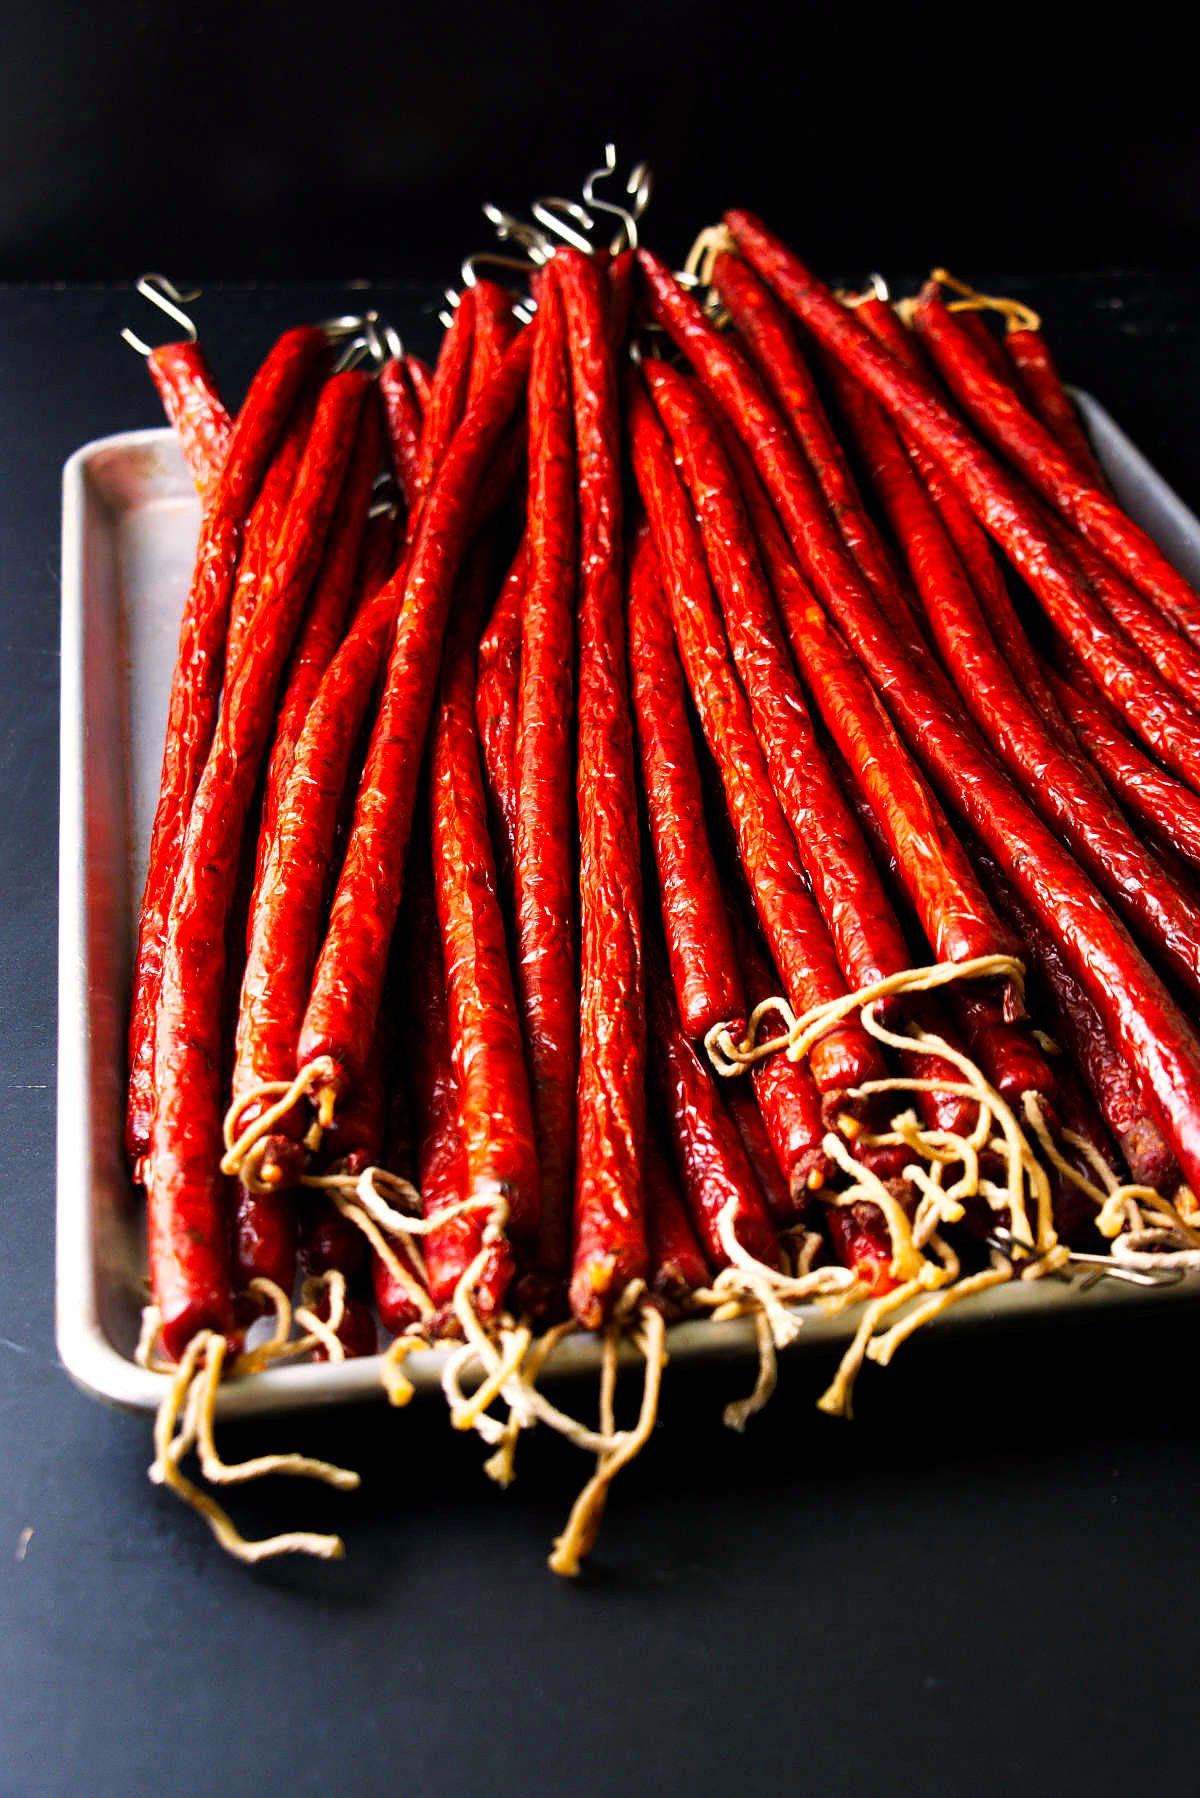
Chill and bloom: Once the snack sticks reach an internal temperature of 160°F, pull them from the smoker and dunk them in an ice-water bath to cool them down. Then let them rest on the counter at room temperature for 1-2 hours to bloom.
Substitutions and Variations
Use this recipe as your base, then adjust the heat, cheese, or meat blend once you know how the first batch turns out.
Milder heat: Cut back on the spicy pepper flakes or chipotle powder if you want the cheddar and smoke to lead.
More heat: Add cayenne, extra pepper flakes, or a hotter dried pepper blend.
Different cheese: Mix up the type of cheese you use, but use high-temp cheese to prevent oozing and oil separation during smoking.
More venison flavor: Increase the venison and reduce some of the beef if you want a more wild-game-forward stick. If you replace pork with venison, slightly increase your fat content.
Smaller batch: Scale the recipe carefully by weight, especially the cure, salt, Fermento, and binder.
Another Tasty Venison Snack Stick
Traeger
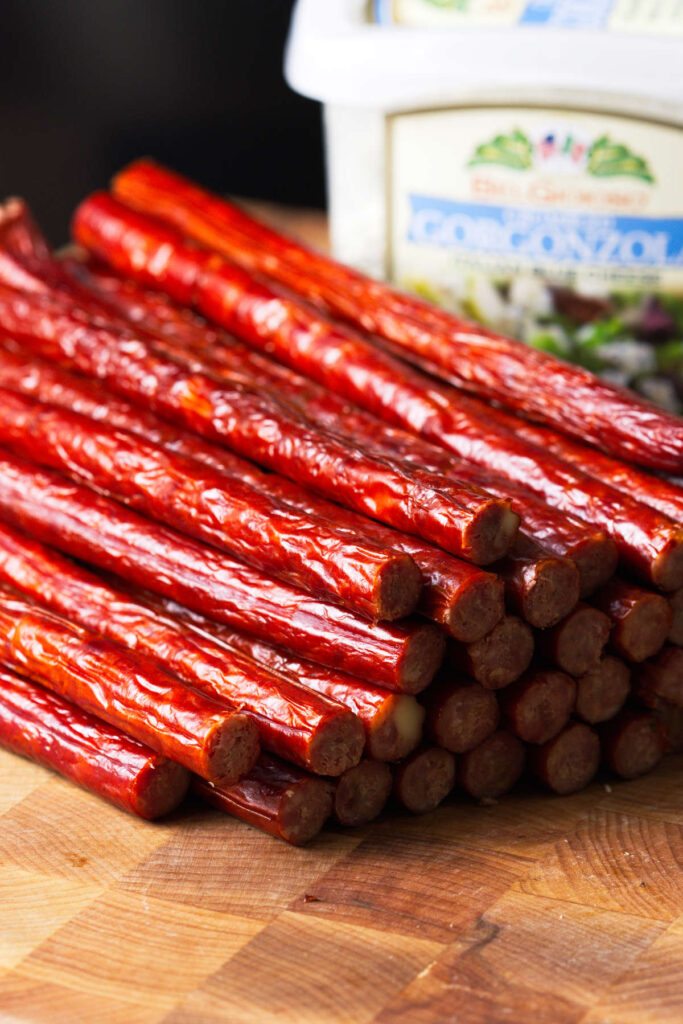
Blue Cheese Bacon Venison Snack Sticks
Blue cheese bacon venison snack sticks with smoky cured-meat flavor, bacon, gorgonzola, and 17mm collagen casings.
Ingredients
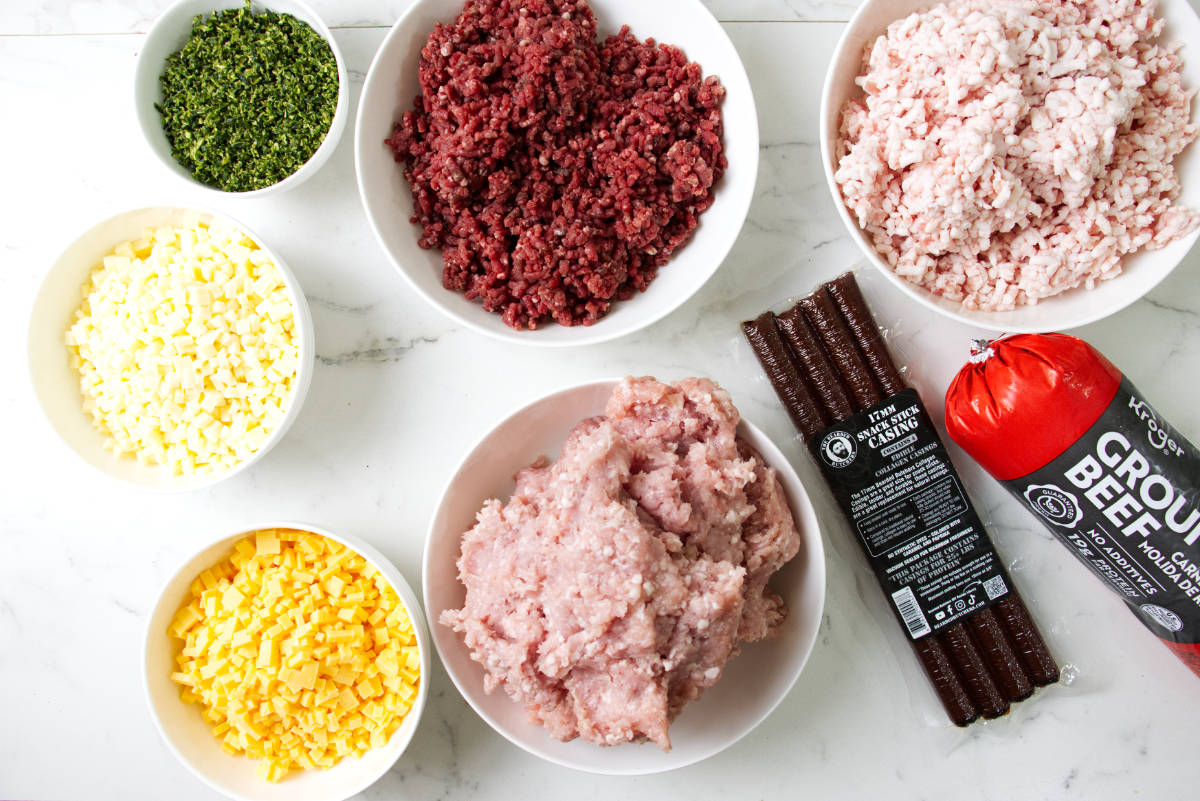
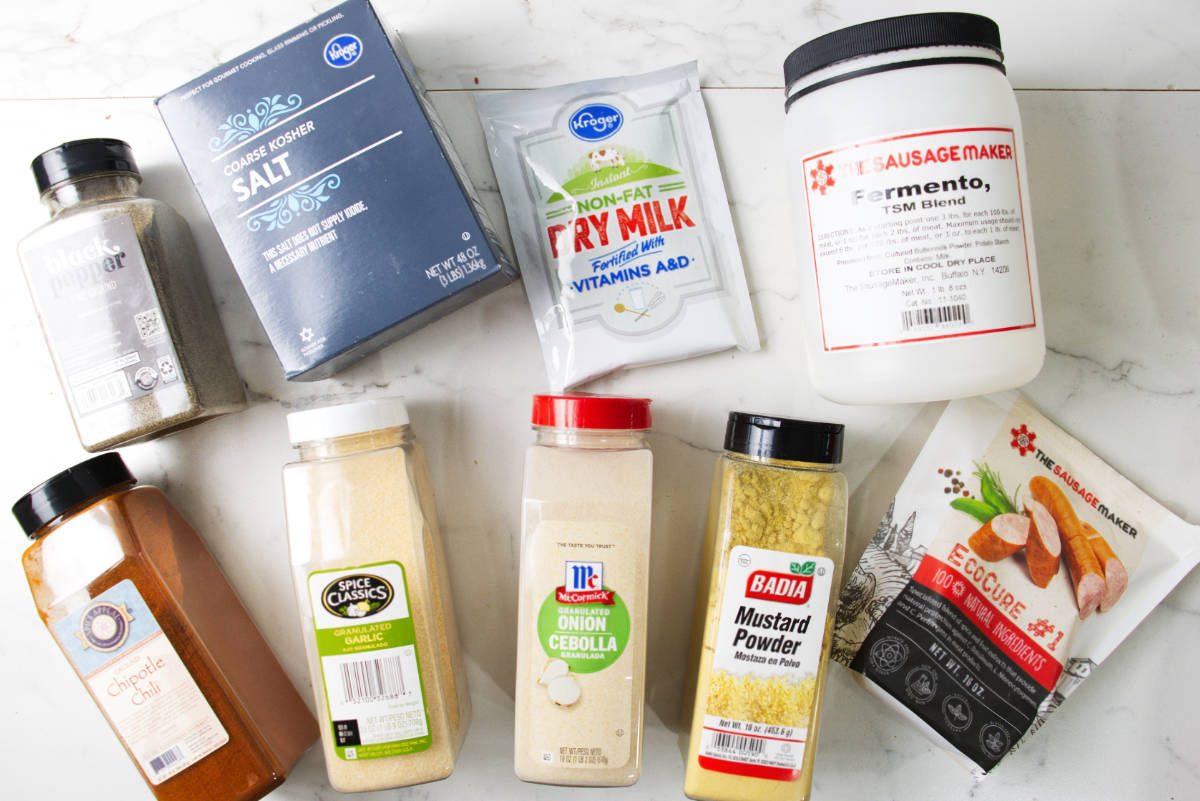
This recipe uses a bunch of meat, so measuring the cure, salt, Fermento, and binder carefully matters. The full amounts are in the recipe card below.
Storing and Serving Suggestions
Cool the sticks fully before packaging so condensation does not get trapped in the bag. Once they are chilled, they are easy to portion for snacks, trips, or the freezer. Smoke, cool, bloom, and chill the sticks before packaging.
For the best quality, freeze in smaller packs so you only thaw what you need. Thaw overnight in the refrigerator, not on the counter.
Refrigerator: Store cooled snack sticks in an airtight container for up to 1 week or a vacuum-sealed bag for up to 3 weeks.
Freezer: Vacuum-sealed snack sticks can be frozen for about 6 months, and often up to 1 year if they stay well sealed.
Serving: Slice for snack boards, pack for hunting trips, or throw in your bag for a snack on the go.
Frequently Asked Questions
A 70/30 lean-to-fat style ratio works well for snack sticks. Venison is very lean, so pork back fat helps keep the sticks moist.
You can, but they may turn dry or crumbly. Some added fat makes a big difference in texture.
Collagen casings are the easiest choice for homemade snack sticks because they are uniform, easy to stuff, and do not need to be soaked before using. Cellulose casings can also work, but they are usually peeled off after cooking. Natural sheep casings give a traditional snap, but they take more prep and can be harder to stuff evenly.
This recipe uses 17mm collagen snack stick casings, but you can also use 19mm or 21mm casings as well.
No. Collagen casings do not need to be soaked like natural casings.
Cook snack sticks until they reach a safe internal temperature for the venison, beef, and pork blend, then cool them quickly.
CONNECT WITH A LICENSE TO GRILL!
Be sure to follow us on our social media accounts.
Did you make this recipe? Tell us about it in the comments below!
Jalapeño Cheddar Venison Snack Sticks
Ingredients
- 2½ lb venison, well chilled
- 2½ lb beef, well chilled
- 5 lb pork, well chilled
- 4¼ lb pork back fat, well chilled or partially frozen
- 2½ oz Eco Cure #1
- 7 oz Fermento, for tang
- 3 oz nonfat dry milk powder, binder; about one 3.2 oz pack
- 2 cups ice cold water
- 4 oz kosher salt, about 7 1/2 tbsp Morton kosher salt or about 13 tbsp Diamond Crystal
- 2 tbsp black pepper
- 2¼ tbsp garlic powder
- 1 tbsp onion powder
- 2 tbsp chipotle powder
- 4 tbsp spicy pepper flakes
- 1 tbsp mustard powder
- 1 tbsp granulated sugar
- 2½ oz dehydrated jalapeños, about 1 1/2 cups
- 12 oz extra sharp cheddar, diced small
- 12 oz white cheddar, diced small
- 2 full collagen casings, 17mm (19mm or 21mm also works)
Instructions
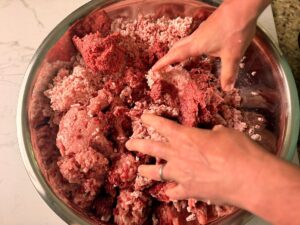
- If you are grinding your own meat, keep the venison, beef, pork, pork back fat, grinder parts, and mixing bowl very cold before starting. Freeze the meat for about an hour before you grind it.
- Grind the chilled meat and pork back fat through the desired plate, keeping the mixture cold throughout the process. Use a coarse plate for the first grind and a fine plate for the second grind.

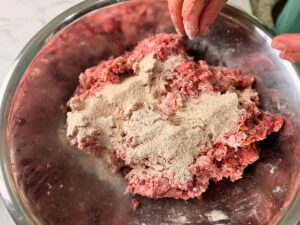
- Combine the cure, Fermento, nonfat dry milk powder, and seasonings, and add it to the meat. Then mix the ice-cold water into the ground meat until the mixture becomes tacky and well-bound.
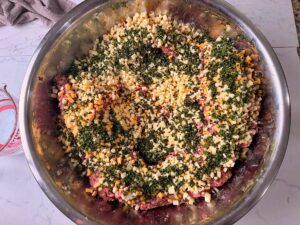
- Fold in the diced extra sharp cheddar, white cheddar, and dehydrated jalapenos until evenly distributed.
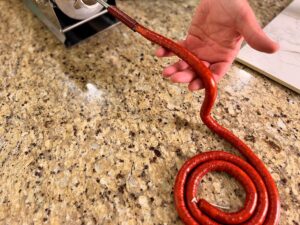
- Stuff the mixture into 17mm collagen snack stick casings, taking care not to overstuff or leave large air pockets.
- Let the stuffed sticks rest while the smoker preheats to 120°F.
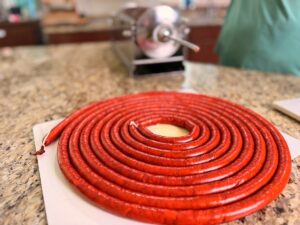
Smoke the Snack Sticks
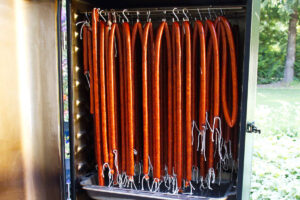
- Smoke for 1 hour at 120°F. Then increase the temperature of the smoker in stages to 140°F, 150°F, and 160°F, smoking for another hour at each stage.

- Finally, increase the smoker to 170°F and cook until the snack sticks reach an internal temperature of 160°F, about 3 more hours.
- Cool the snack sticks quickly in an ice water bath.
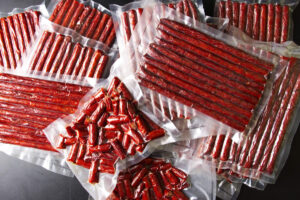
- Bloom the snack sticks by letting them rest at room temperature for about 1 hour before slicing them into your desired length and vacuum sealing.
Notes
Nutrition
Nutrition information is automatically calculated, so should only be used as an approximation.