Halloween Cake Pops
on Nov 10, 2024, Updated Nov 20, 2024
This post may contain affiliate links. Please read our disclosure policy.
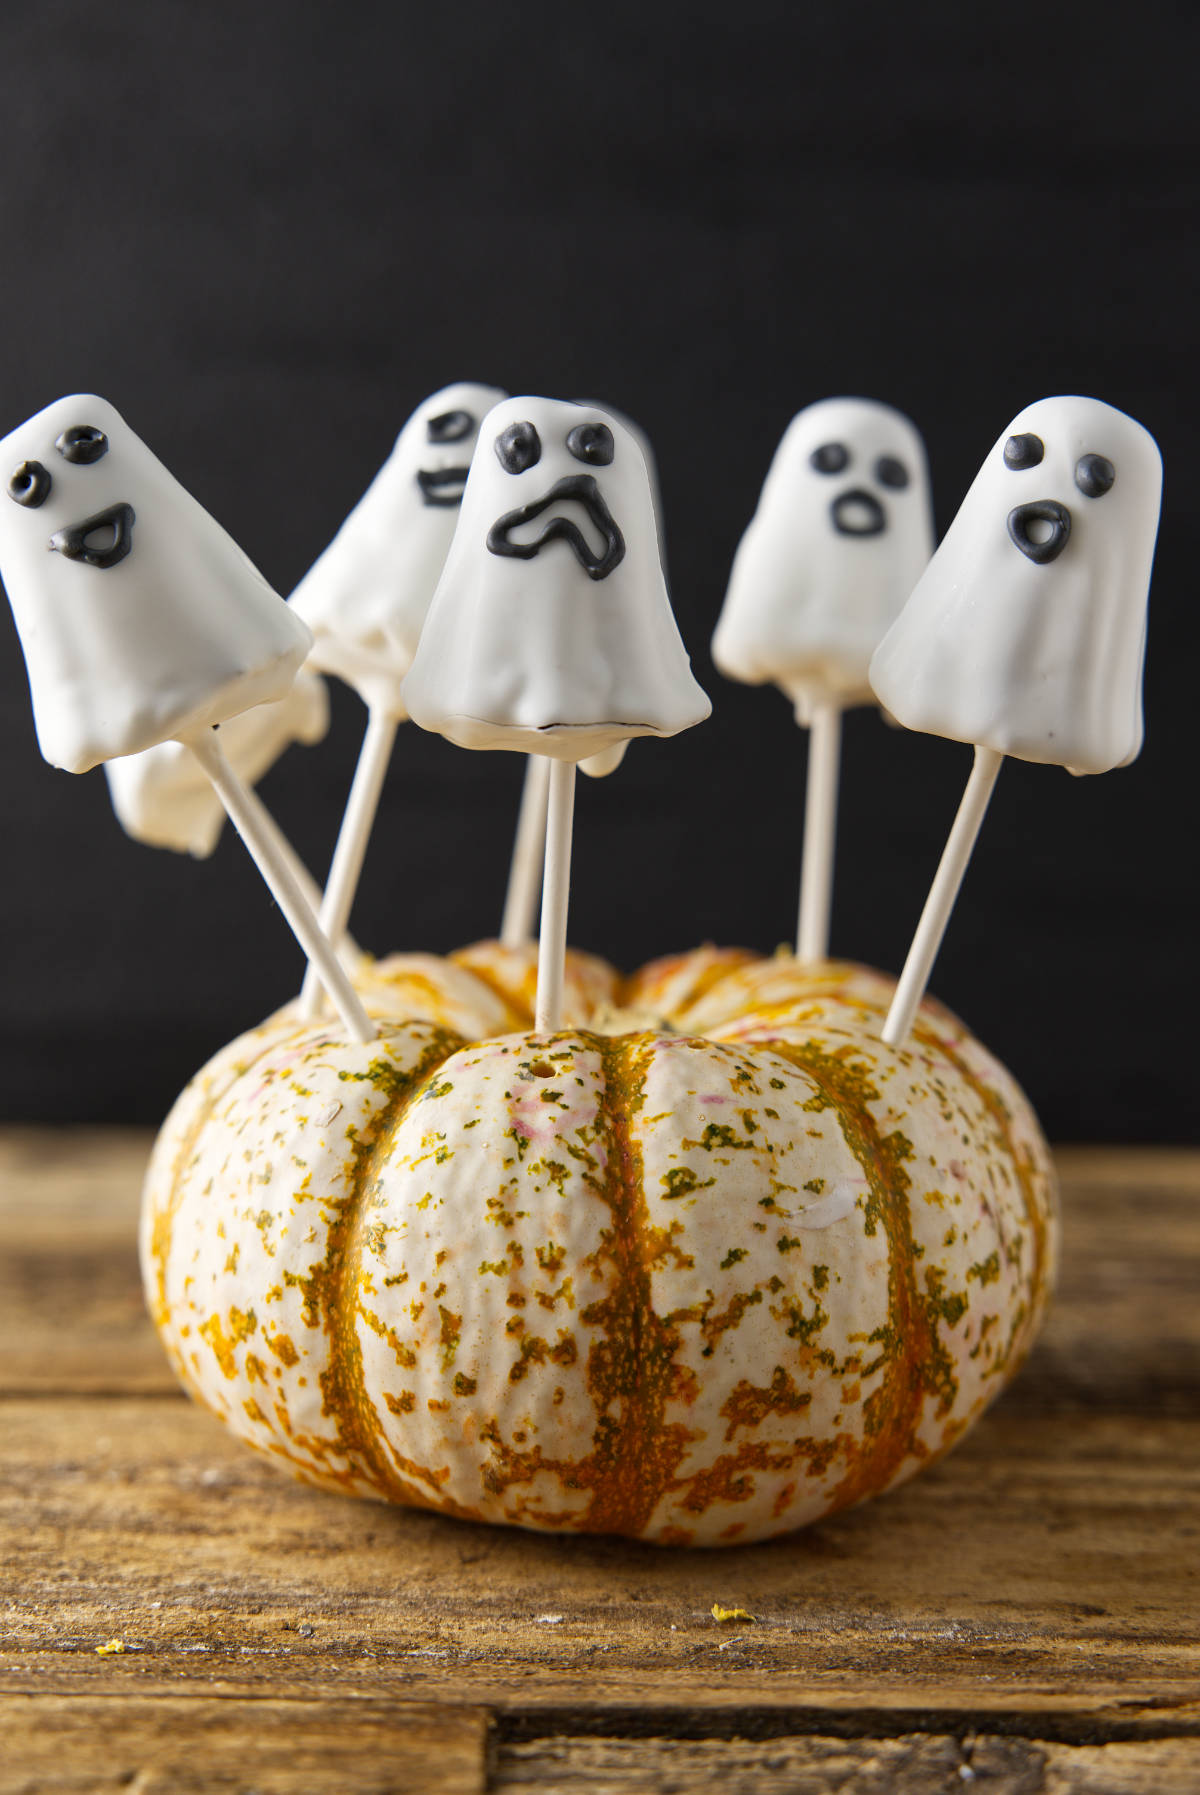
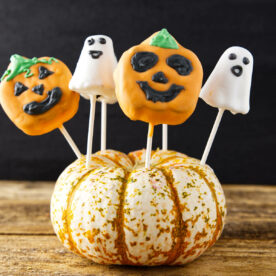
These Halloween Cake Pops are the ultimate treat to bring a little magic (and a bit of spook!) to your Halloween festivities! Made from a deliciously moist chocolate cake and an intoxicating chocolate buttercream, these cake pops are not just a dessert—they are a fun, family activity that you can eat! The cake pops are shaped into pumpkins and ghosts with silicone molds before being dipped in colorful candy melts and finished with vibrant royal icing.
This recipe invites you to gather around, get a little messy, and create some seriously cute (and delicious) Halloween magic together. These Halloween Cake Pops will be a hit with every little ghoul and goblin!
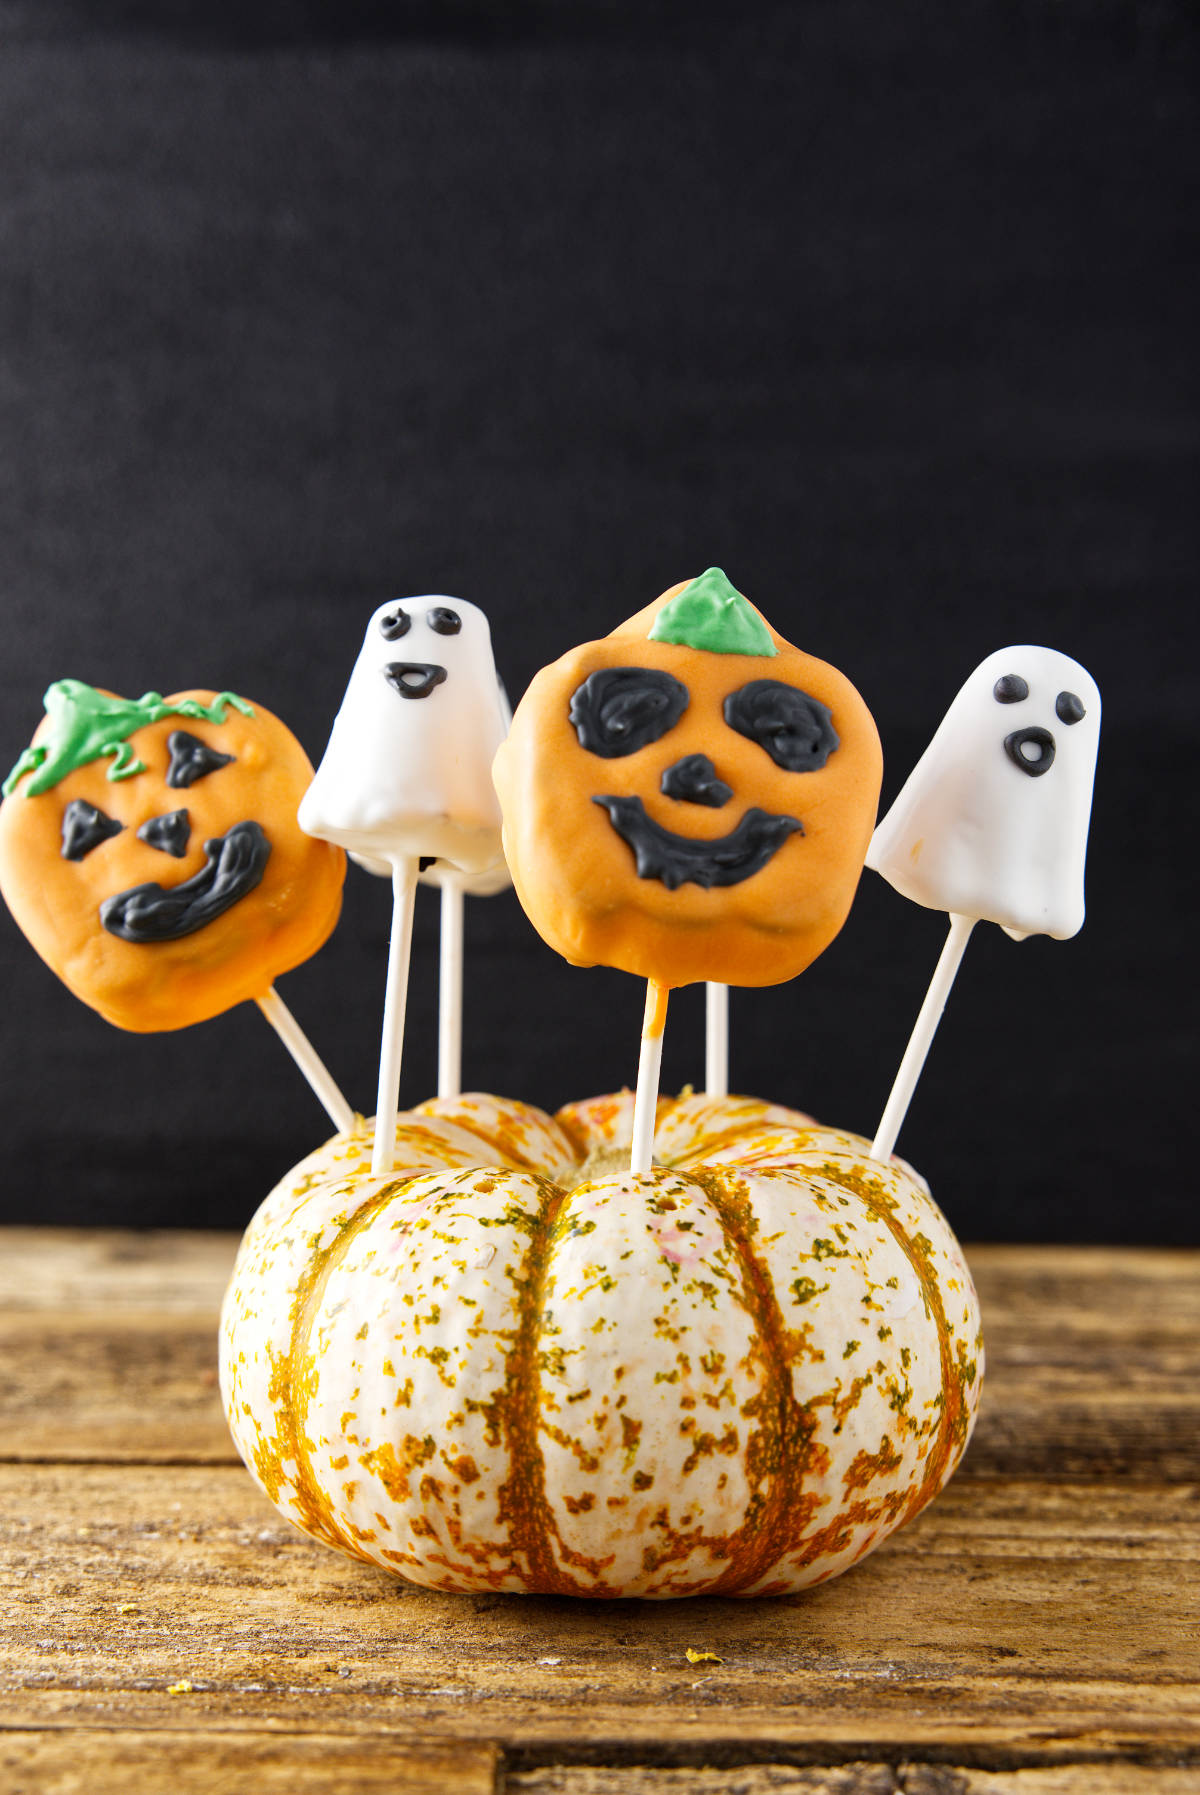
🎃 Why You Need These Halloween Cake Pops
- Incredibly Moist Chocolate Cake: Made with a reader-favorite chocolate cake recipe that’s rich, tender, and chocolatey, these cake pops bring big flavor in every bite.
- Perfectly Balanced Buttercream: The velvety chocolate buttercream adds just the right amount of sweetness without overpowering the cake.
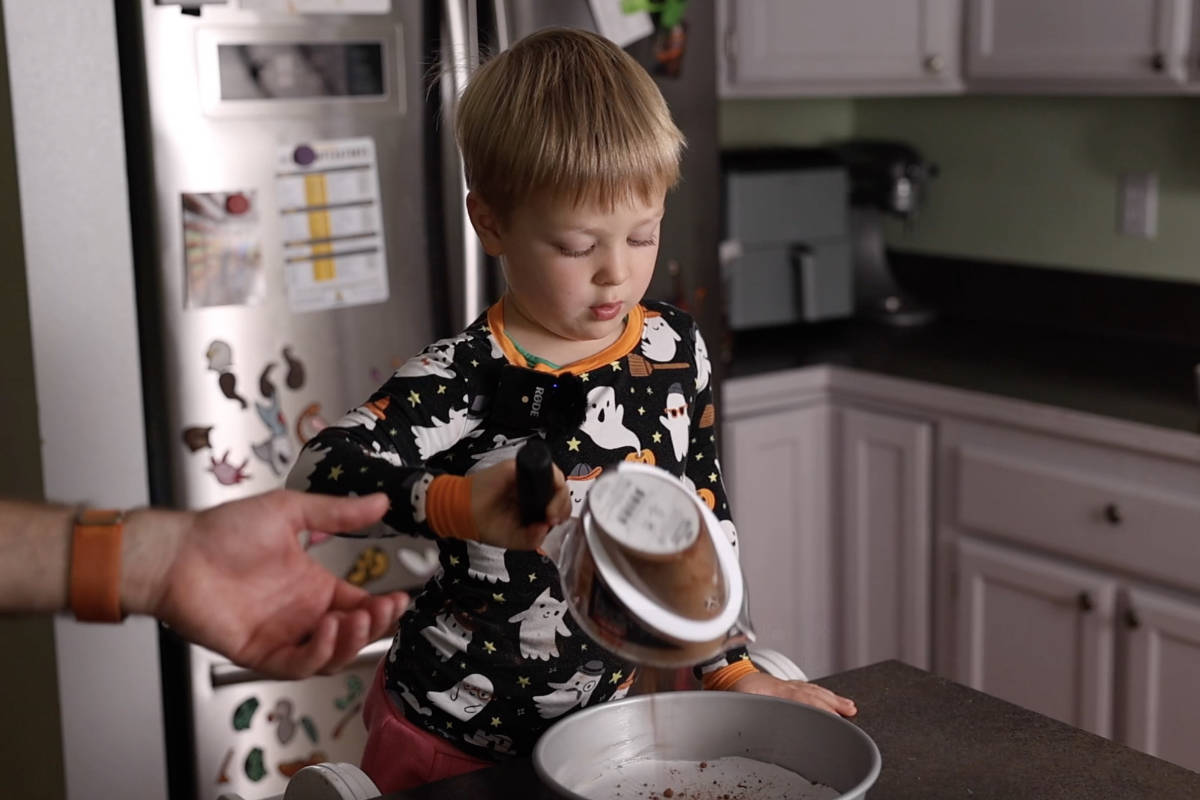
- Fun for All Ages: These Halloween cake pops are perfect for a family or friends’ baking night! Kids and adults alike will love shaping, dipping, and decorating these fun ghost and pumpkin pops.
- Adjustable Size: Use silicone molds or free-form the cake pops by hand to make any size you’d like, from bite-sized to big and bold!
- Festive and Customizable Decorations: Decorate with vibrant candy melts and royal icing for endless creative options. Mix up colors and designs to make each cake pop unique!
- A Spooky Party Favorite: These Halloween cake pops are ideal for bringing a fun, edible centerpiece to any Halloween party, adding a bit of spooky charm to the dessert table.
🗒️ Ingredients for Cake Pops
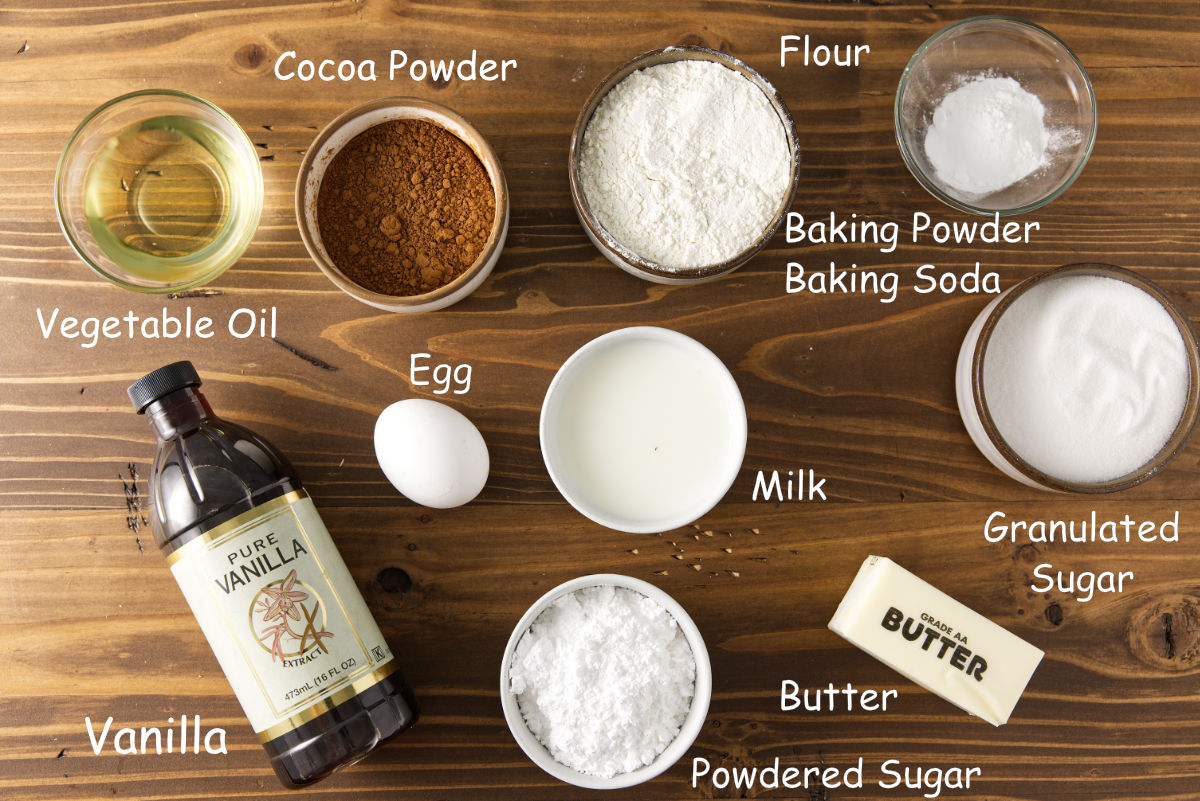
Here is a quick rundown of everything you will need to make these cake pops. You may want to switch up the colors of melting wafers and food dye. Check out the recipe card below for a detailed overview of what you need.
Equipment
- Halloween Jack-O-Lantern Mold and Ghost Mold
- Cake Pop Sticks
- Stand Mixer
- Hand Mixer
For the Cake
- Unsweetened Cocoa Powder: Adds rich, chocolatey flavor and color to the cake base.
- Hot Water: Helps dissolve the cocoa powder, ensuring smooth chocolate flavor throughout.
- Sugar: Sweetens the cake and helps create a tender, moist crumb.
- Vegetable Oil: Adds moisture, making the cake extra soft and tender.
- Milk: Brings moisture and richness to the batter.
- Egg: Provides structure and helps bind the ingredients together.
- Vanilla Extract: Enhances the chocolate flavor and adds warmth.
- Flour: Gives structure to the cake.
- Baking Powder & Baking Soda: Together, these help the cake rise and achieve a light texture.
- Salt: Balances the sweetness and enhances the chocolate flavor.
For the Buttercream
- Butter: Forms the creamy, smooth base of the frosting with a rich taste.
- Powdered Sugar: Sweetens the frosting and makes the buttercream delicious.
- Cocoa Powder: Adds an extra layer of chocolate flavor to the buttercream.
- Salt: Balances the sweetness of the frosting, making it more flavorful.
- Vanilla Extract: Brings out the chocolate flavor in the frosting, adding a touch of warmth.
- Milk or Cream: Alters buttercream’s texture, making it smooth.
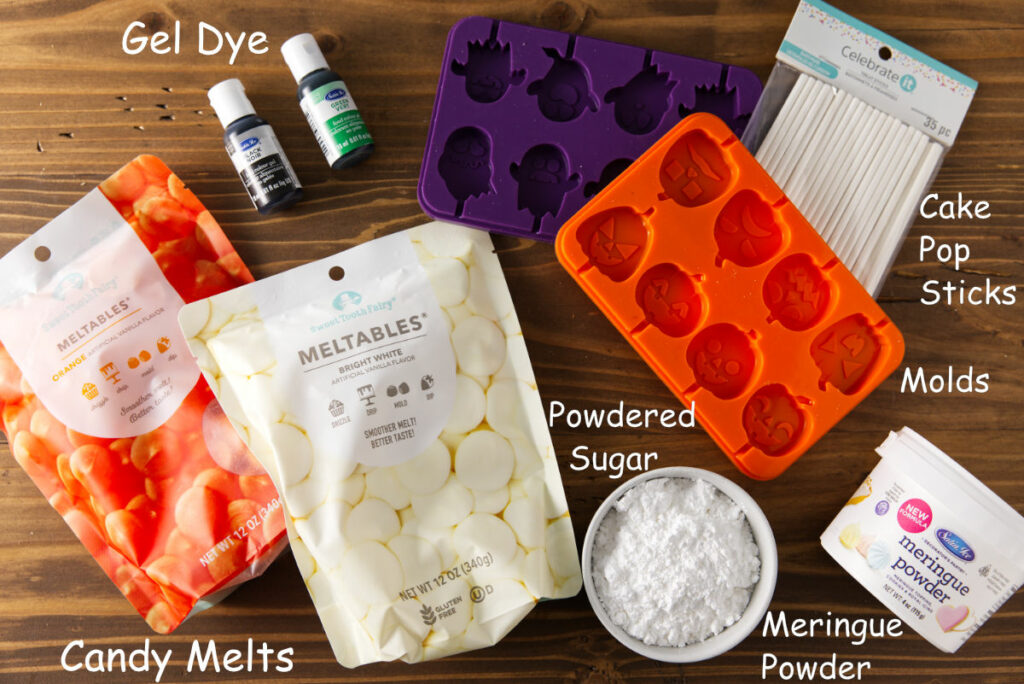
For the Decorations
- Orange Candy Melts: Creates a vibrant orange shell for the pumpkin cake pops, adding a festive Halloween touch.
- White Candy Melts: Forms a smooth, white coating for the ghost cake pops, perfect for a spooky cake pop.
- Powdered Sugar: The base for royal icing, creating a sweet, smooth texture ideal for decorating.
- Meringue Powder: Helps stabilize the icing and gives it a glossy finish that hardens beautifully.
- Water: Changes the consistency of the icing for smooth piping.
- Black & Green Food Gel Dye: Adds bold, Halloween-inspired colors for decorating the pumpkin and ghost cake pops.
👨🍳 How to Make Cake Pops
Making these Halloween cake pops is a fun project. Here is a quick overview of the process. Check out the recipe card below for detailed instructions.
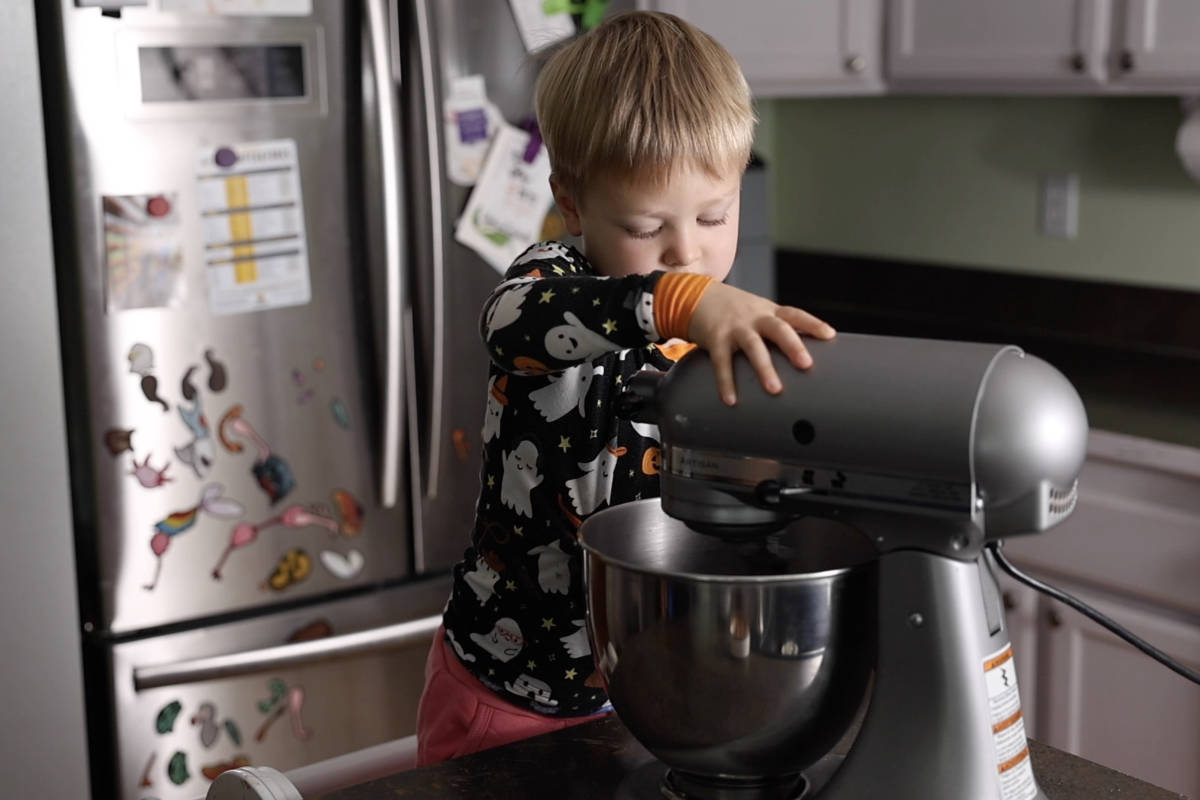
Make the Cake
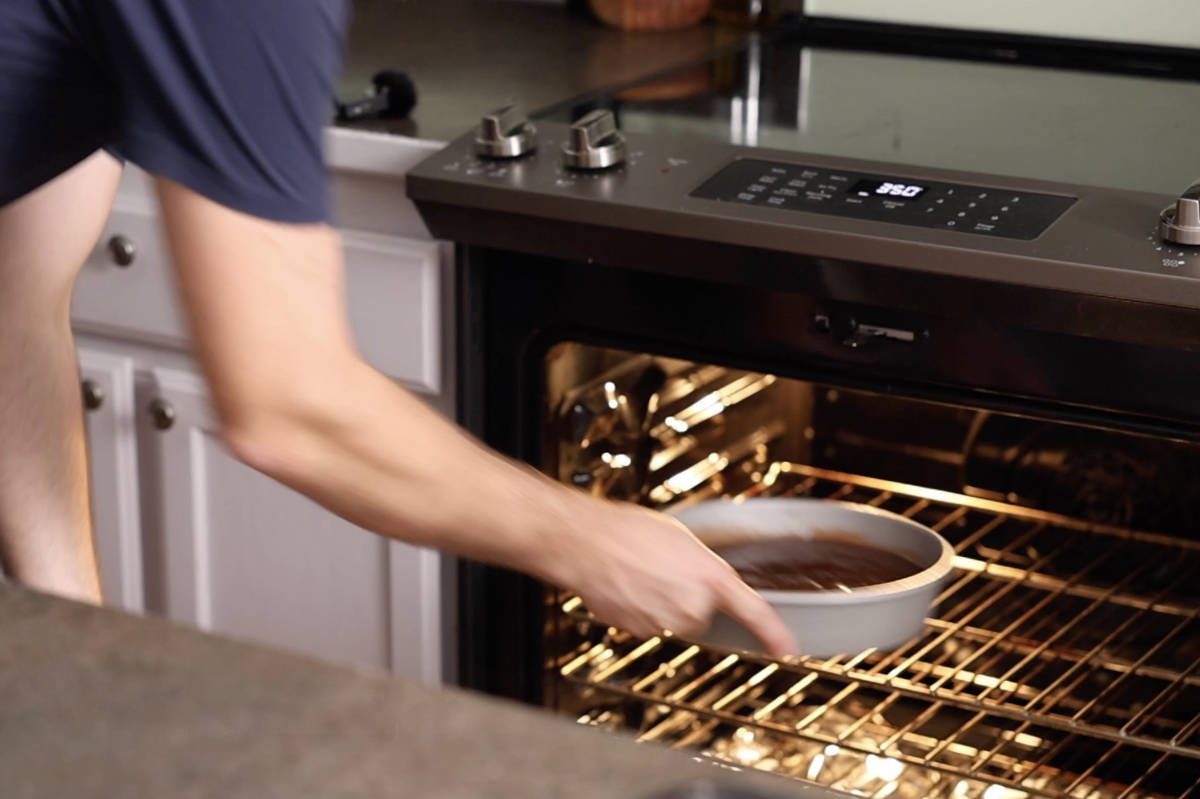
- Preheat the oven to 350°F. Prep a 9-inch cake pan with parchment paper and grease.
- Mix cocoa & hot water until smooth. Mix in sugar, oil, milk, egg, and vanilla.
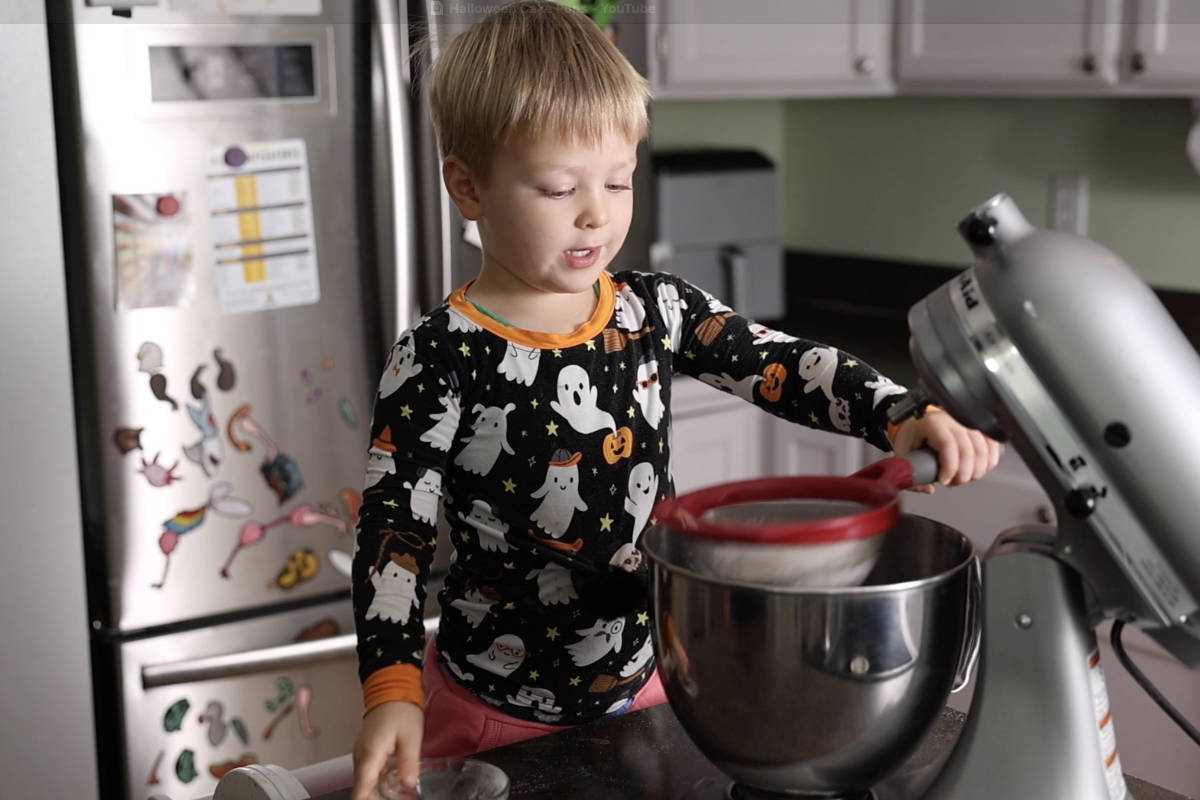
- Add dry ingredients: Sift in flour, baking powder, baking soda, and salt. Mix until combined.
- Bake for 30-35 minutes. Cool completely and set to the side.
Make the Buttercream
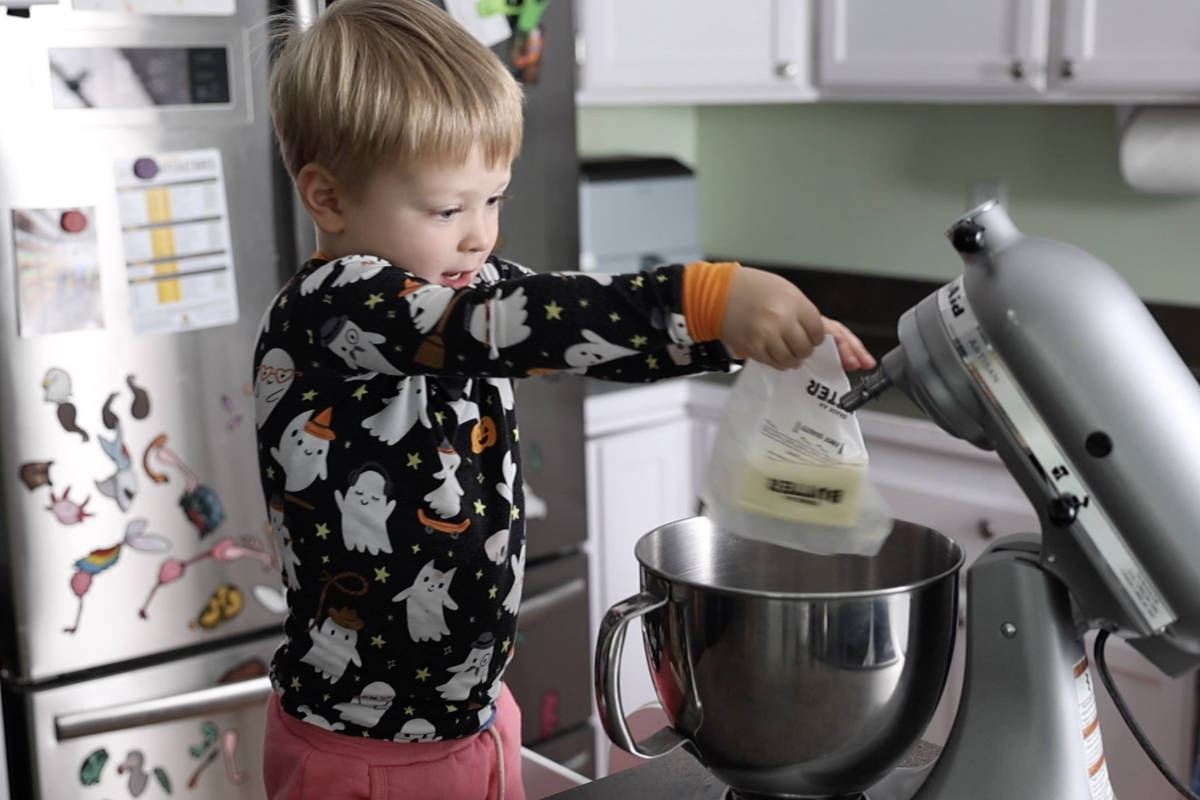
- Beat the butter until creamy and smooth.
- Add powdered sugar & cocoa. Beat until combined.
- Mix in salt & vanilla. Add milk until smooth. Set aside.
Make the Cake Pops
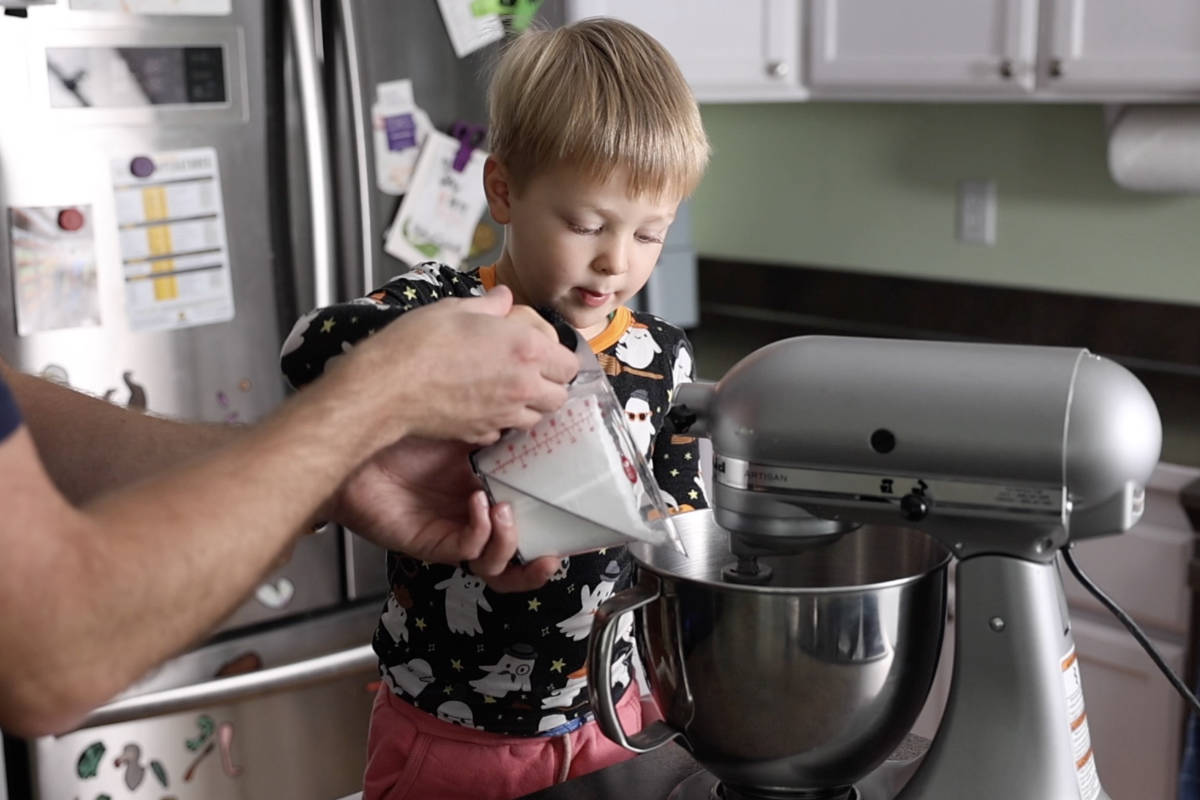
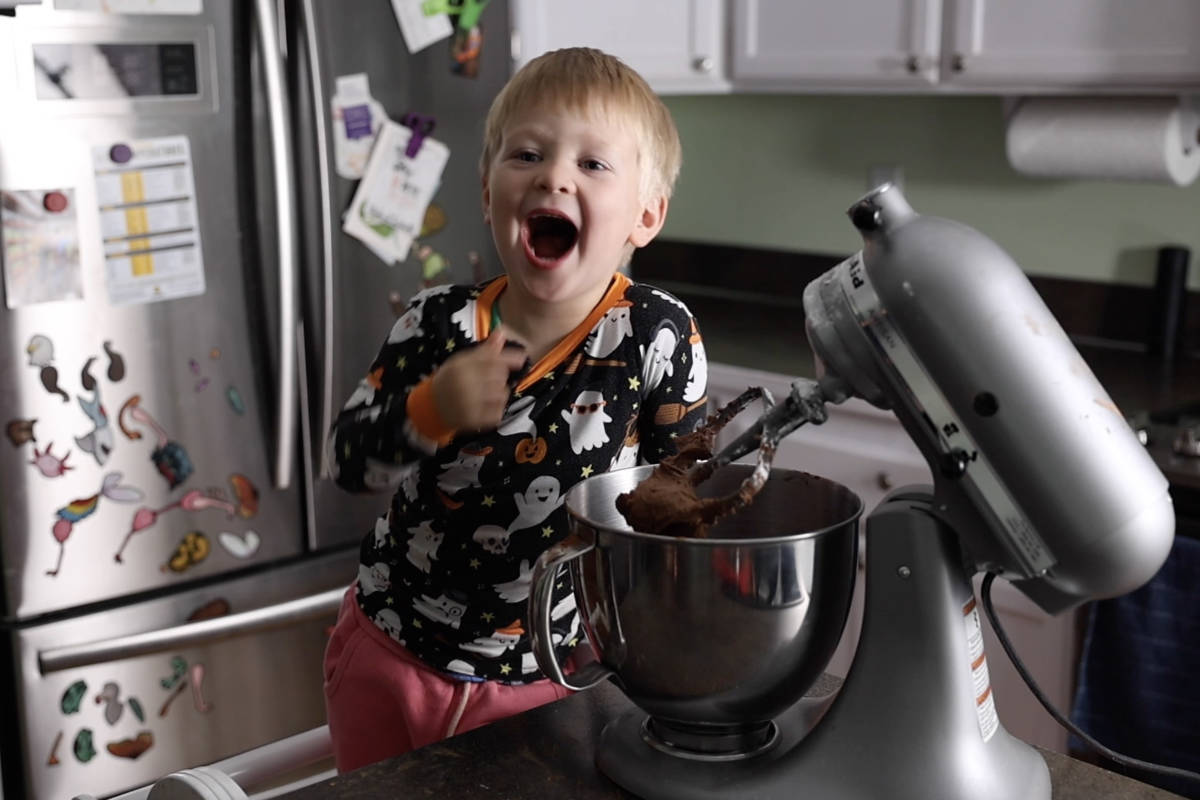
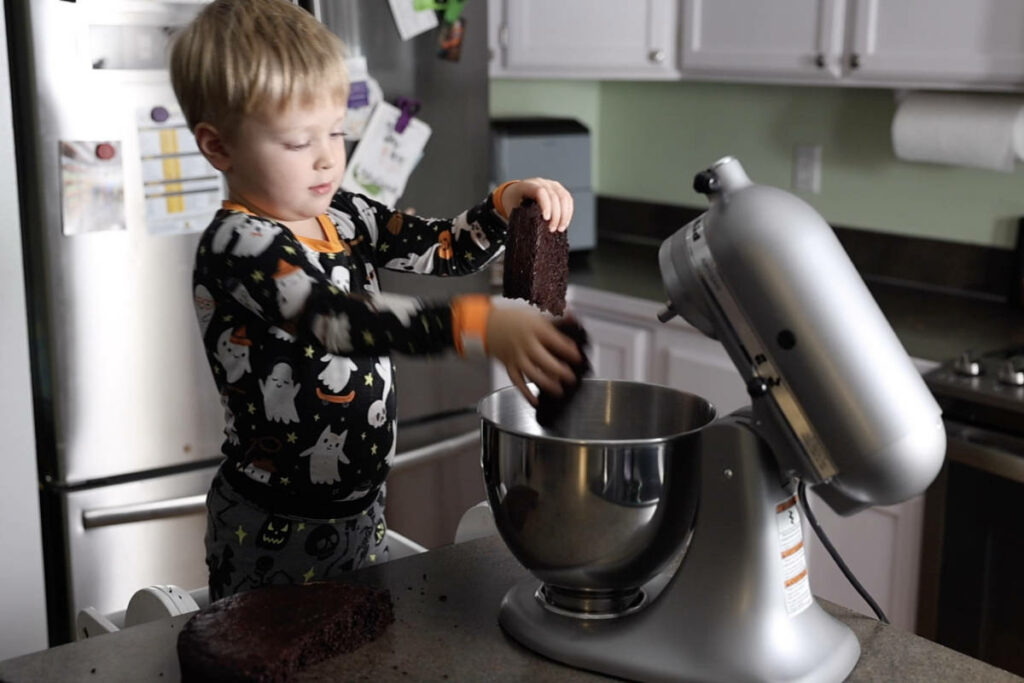
- Crumble the cake and combine it with 1 cup of buttercream in a mixer and mix until combined.
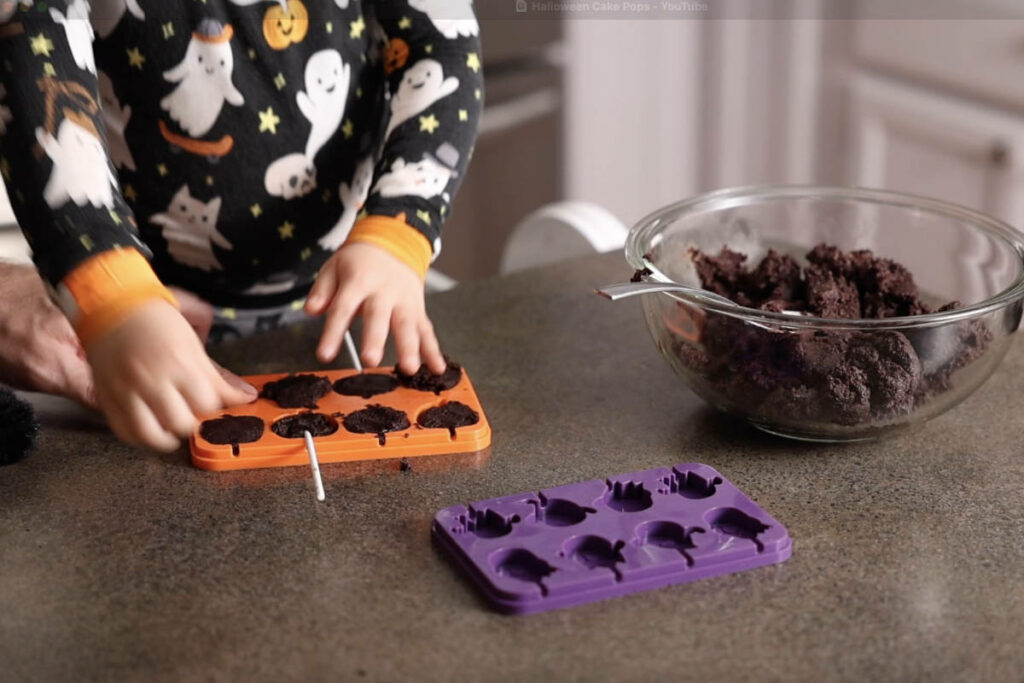
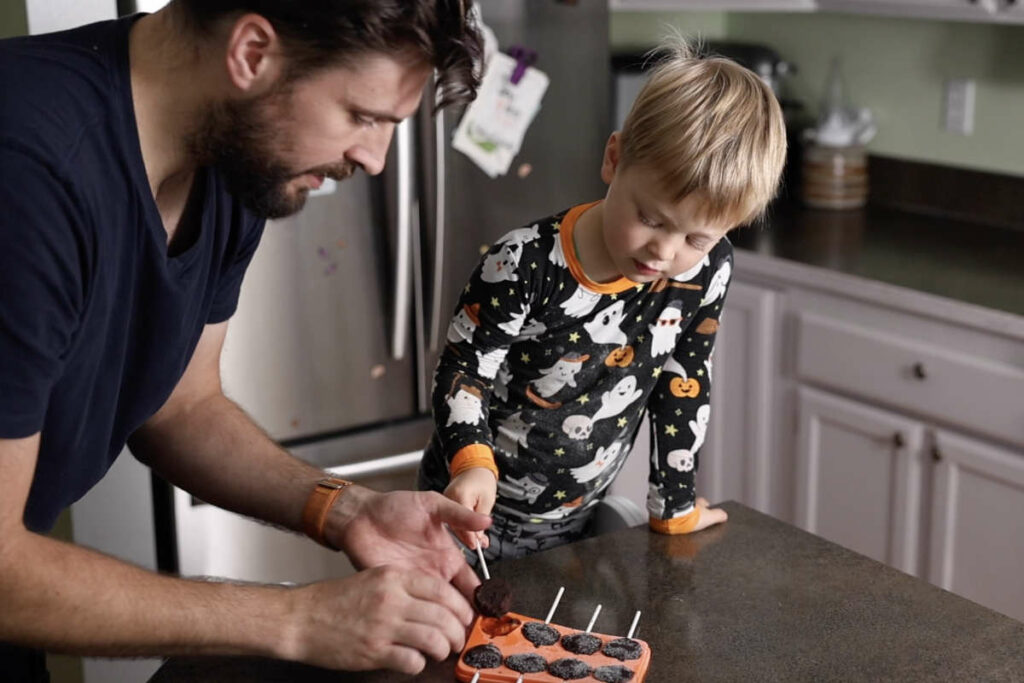
- Press the cake into molds. Add popsicle sticks.
- Freeze for 15 minutes so that the cake pops harden.
- Melt colored candy wafers in separate bowls.
- Remove cake pops from molds. Dip the pumpkins in orange and ghosts in white candy melts. Set the cake pops on a baking sheet lined with parchment paper.
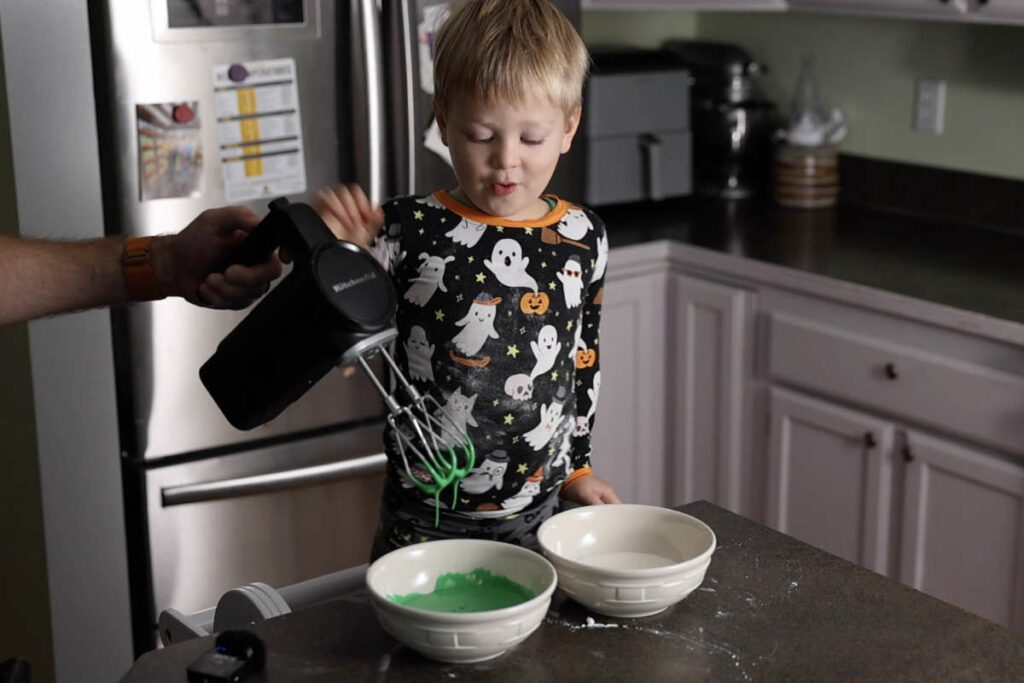
- Mix powdered sugar, meringue powder, and water.
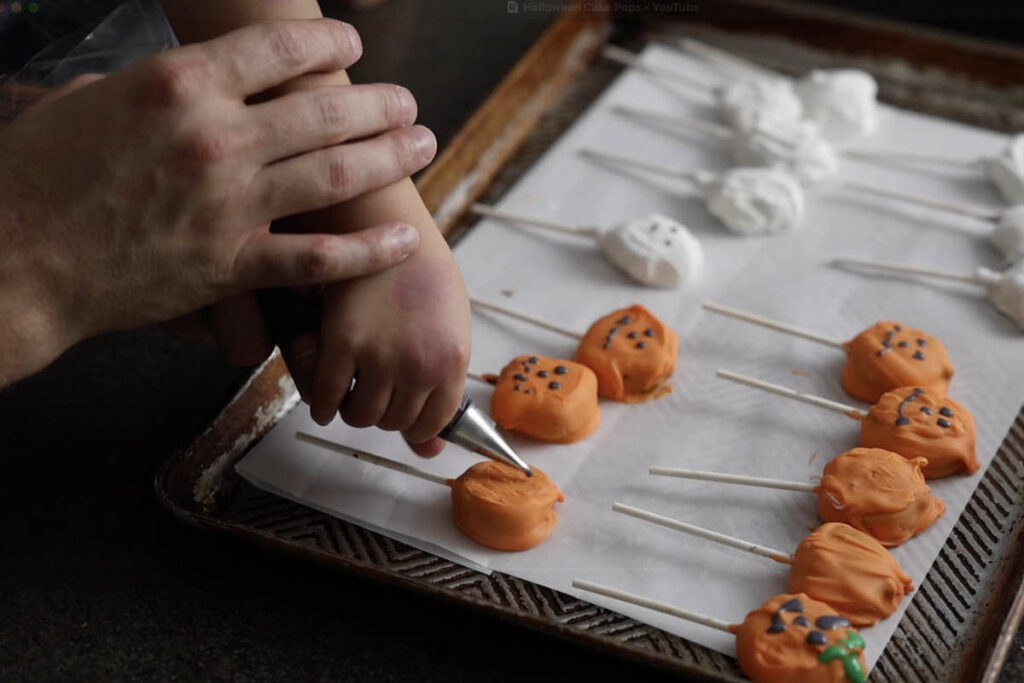
- Color icing black and green. Transfer to piping bags.
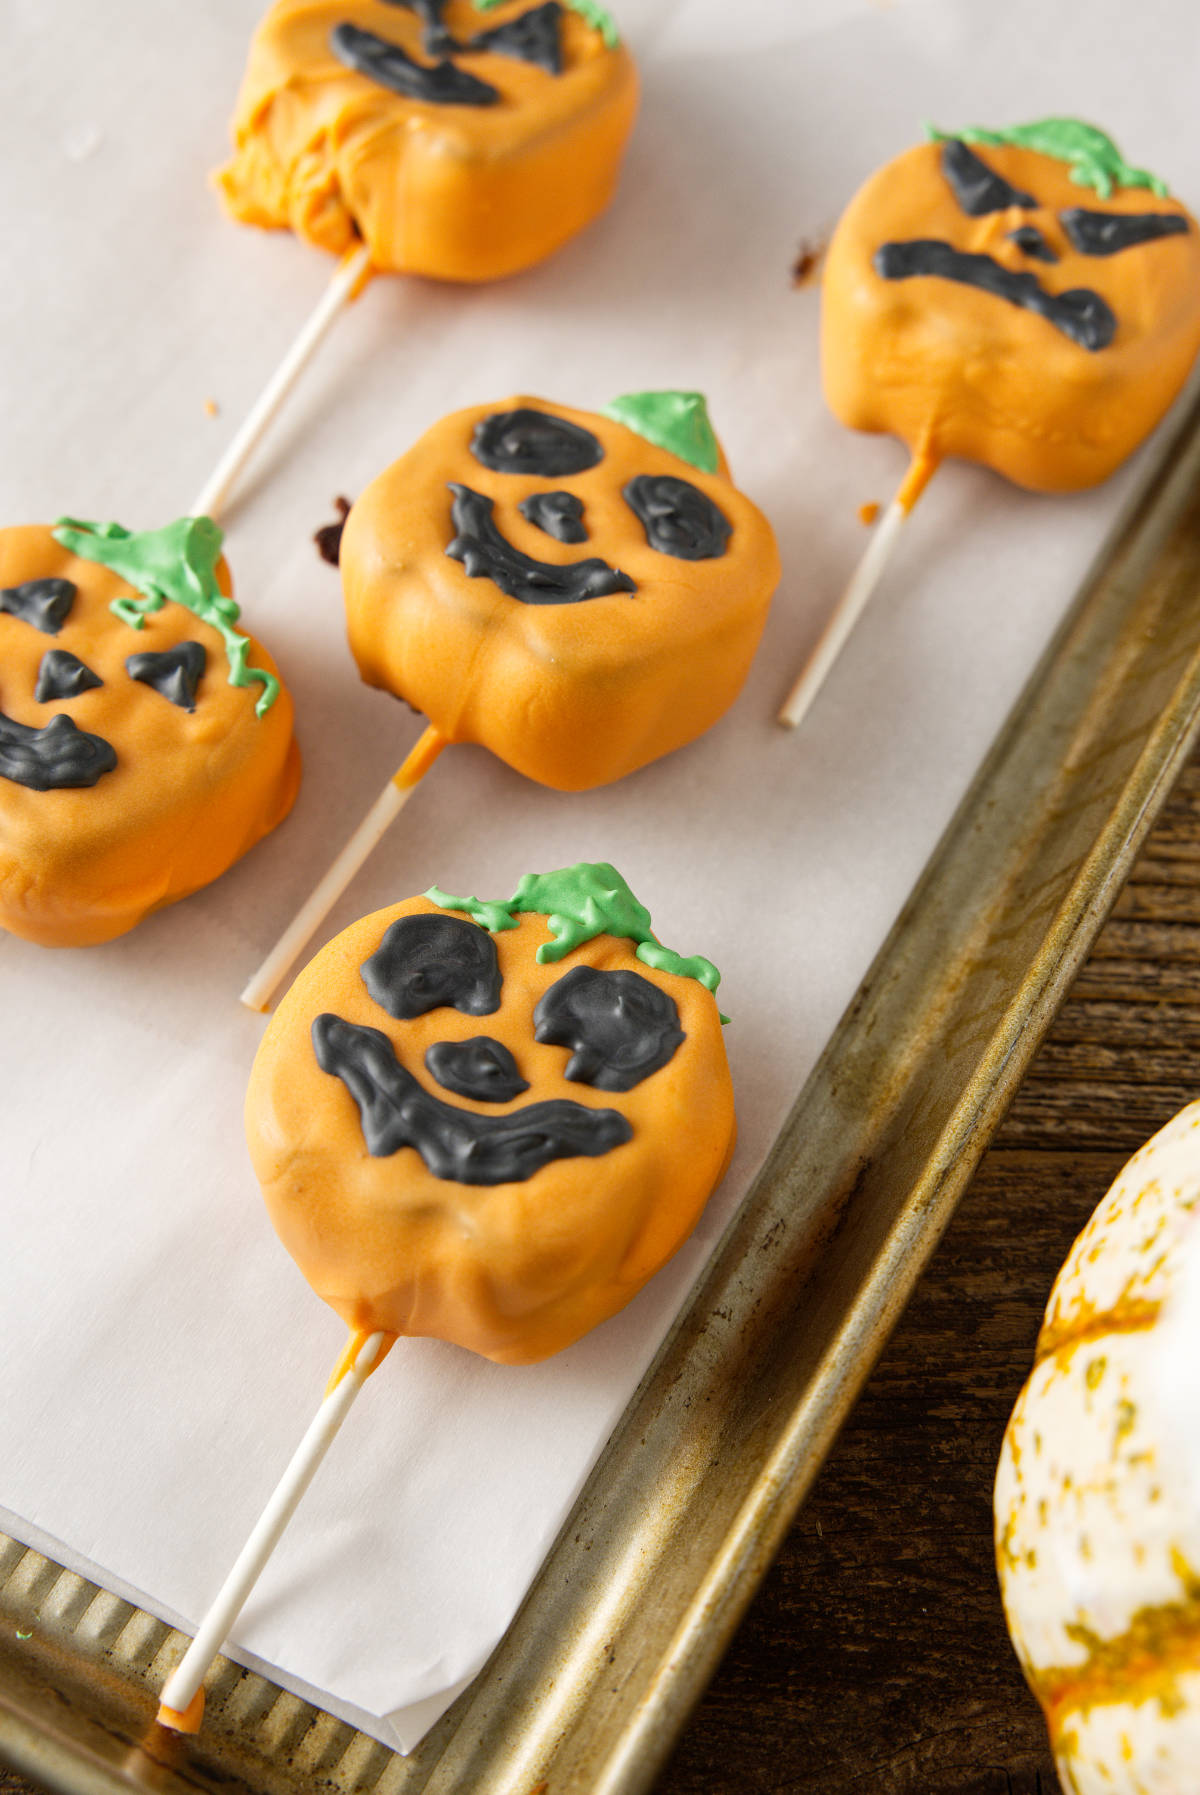
- Decorate cake pops with royal icing details.
- Let icing set before serving. Enjoy!
😉 Tips for Spooky Halloween Cake Pops
- Chill the Cake Pops in the Mold: Freezing the filled molds for 15 minutes helps the cake pops harden, making them easier to remove cleanly and dip into the melted candy coating.
- Smooth Candy Melts: Stir the candy melts frequently while microwaving in short 15-30-second bursts to ensure a silky smooth coating.
- Thin the Candy Coating: If the melted candy is too thick, add a teaspoon of coconut oil to thin it out for a smoother dip.
- Prevent Cracks: Let the cake pops come to room temperature for a few minutes before dipping if they’ve been in the freezer. This helps prevent cracks in the candy coating.
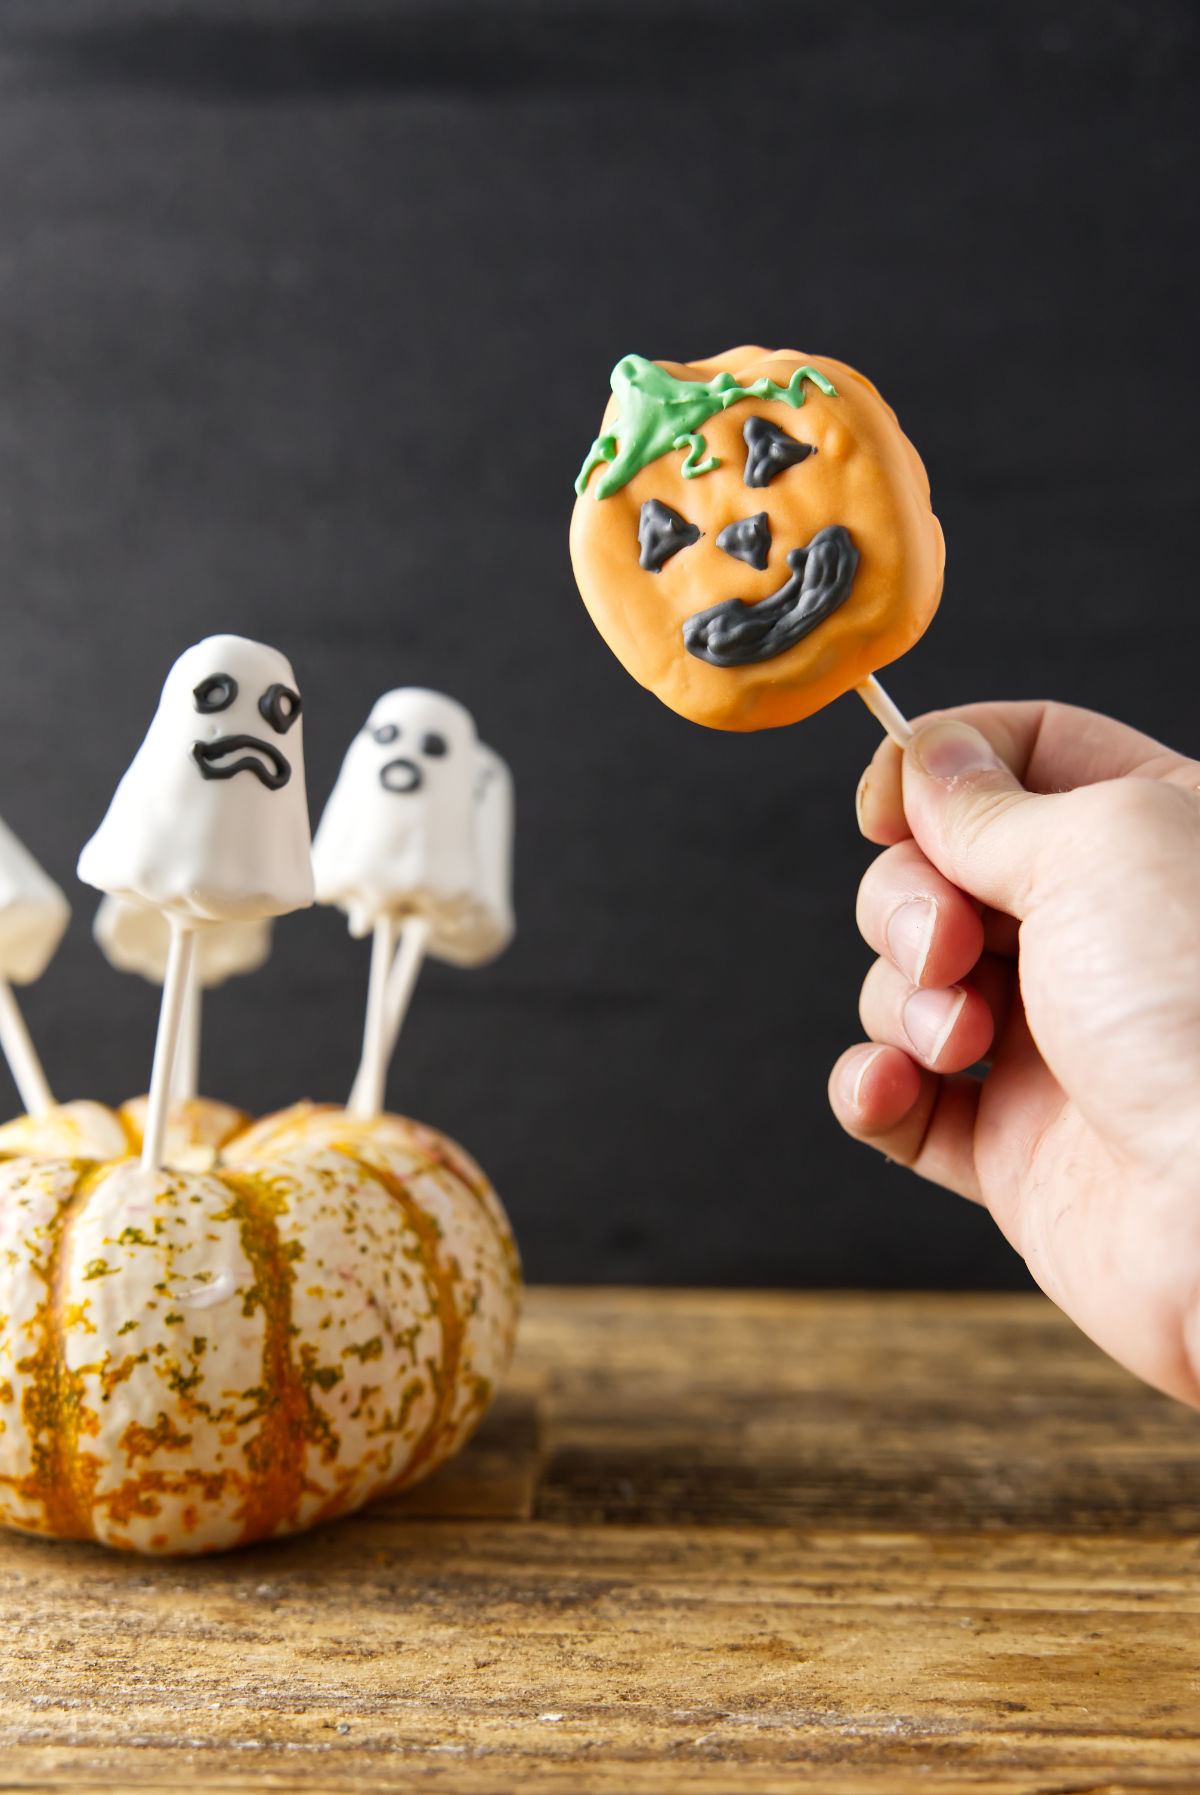
- Get Creative with Details: Use toothpicks for precise royal icing details like spooky eyes or creepy smiles on the ghosts and pumpkins.
- Secure the Sticks: If the popsicle sticks aren’t secure in the cake pops, dip the tips of the sticks in melted candy before inserting them into the cake pops to help hold them in place.
🤔 Variations and Substitutions
- Different Candy Melts and Royal Icing Colors: Mix and match candy melt colors to create unique designs, like purple for spooky monsters or black for a truly haunting look. You can also switch up the royal icing colors to add even more creative and festive flair to your decorations.
- Hand-Shaped Cake Pops: If you don’t have molds, shape the cake pops into classic spheres by hand or get creative with free-formed shapes like bats or witches’ hats.
- Decorating Techniques: Use edible glitter, sugar sprinkles, or candy eyes to give your Halloween cake pops an extra pop of spooky fun. You can also try marbling the candy melts for a cool, swirled effect.
🍰 Storing Your Cake Pops
Counter Storage: If you plan to enjoy your cake pops within 1-2 days, you can store them at room temperature. Place the cake pops in an airtight container, keeping them out of direct sunlight and away from heat to prevent the candy coating from melting.
Refrigerator Storage: For longer storage, place the cake pops in an airtight container and refrigerate for up to 1 week. This helps keep the cake moist and the candy coating firm. Throw in a slice of bread along with the cake pops to help absorb any moisture and to help preserve them. Let the cake pops come to room temperature for about 10-15 minutes before serving to bring back the full flavor and texture.
Freezer Storage: To store cake pops for an extended period, arrange them in a single layer inside an airtight, freezer-safe container. For best results, use a vacuum sealed bag to preserve the cake pops. You can keep them in the freezer for up to 3 months. When ready to serve, let the cake pops thaw in the fridge overnight and then bring them to room temperature for the best taste and texture.
❓Spooky Questions and Answers
Absolutely! Store the cake pops in the fridge or freezer in an airtight container. Be sure to let them thaw and come to room temperature before serving.
Candy melts are the perfect coating for cake pops. They come in a variety of colors and are very easy to work with. They also set very quickly after dipping the cake pops, so it makes the process much easier!
If your candy melts are too thick after melting, you can add a teaspoon of coconut oil at a time to help thin it out. Be sure not to add too much coconut oil, or else it may not set properly, and the candy melt coating won’t be as shiny when it sets.
If your sticks aren’t staying secured, you can help adhere them by simply dipping the sticks in melted candy melts before sticking them in the cake pop. Problem solved!
Be sure the consistency of the melted candy melts is perfect. Use a bit of coconut oil to get it just right. Immediately after dipping your cake pops, tap them so that any excess drips off. Set them upright using a popsicle or cake pop stand, or lay them flat on parchment paper.
CONNECT WITH A LICENSE TO GRILL!
Be sure to follow us on our social media accounts.
Did you make this recipe? Tell us about it in the comments below!
Halloween Cake Pops
Ingredients
For the Cake
- ½ cup unsweetened cocoa powder
- ½ cup hot water
- 1 cup sugar
- ¼ cup vegetable oil
- ½ cup milk
- 1 egg, room temp
- 1 teaspoon vanilla extract
- 1 cup flour
- ¾ teaspoon baking powder
- ¾ teaspoon baking soda
- ½ teaspoon salt
For the Buttercream
- 8 tablespoons butter, softened
- 2 cups powdered sugar
- 3 tablespoons cocoa powder
- pinch of salt
- ¼ teaspoon vanilla extract
- 1 to 4 tablespoons milk or cream
For the Coating
- 12 ounces orange candy wafer melts
- 12 ounces white candy wafer melts
For the Icing
- 2 cups powdered sugar, sifted
- 5 teaspoons meringue powder
- 2 tablespoons water, room temp
- 1 ounce black food dye gel
- 1 ounce green food dye gel
Instructions
Make the Cake
- Preheat the oven to 350°F. Line a 9-inch cake pan with parchment paper. Grease and flour the sides of the pan.
- In a large mixing bowl or stand mixer, whisk the cocoa and the hot water together until the cocoa powder is completely dissolved.
- Add the sugar, oil, milk, egg, and vanilla extract. Whisk well.
- Sift the flour, baking powder, baking soda, and salt over the wet ingredients and mix until combined.
- Pour the batter into the prepared pan and place in the center of the preheated oven. Bake for 30 to 35 minutes. Use a toothpick to poke the center of the cake, it should come out clean when it is fully cooked.
- Set the cake to the side and let it cool.
Make the Buttercream Frosting
- In a large mixing bowl or a stand mixer, beat the butter on medium until it is soft and creamy. Slowly add the powdered sugar and cocoa powder. Beat until combined.
- Add the salt and vanilla extract and beat well. Slowly add the milk or cream until you have the consistency you like.
- Scrape the butter cream out of the mixing bowl and set it to the side.
Make the Cake Pops
- Crumble the cooled cake and dump it into the mixing bowl. Add 1 cup of the buttercream to the bowl and mix on low to medium until it comes to a smooth texture. Add slightly more buttercream if the mixture is too dry.
- Press the cake mixture into the pumpkin and ghost silicone molds. If your mold has a spot for a popsicle stick, insert it as well. Smooth the top of the cake so that your cake pop will have a smooth texture.
- Place the filled molds in the freezer for 15 minutes to allow them to set.
- Remove the cake pops from the freezer and remove each one from the molds.
- Place the orange and white candy melts in separate microwave-safe bowls and microwave them in 30-second bursts, stirring between sessions, until smooth. Dip the pumpkin cake pops in the orange and dip the ghosts in the white.
- After dipping, let the excess drip from the cake pop. If you have a cake pop stand, set them into the candy melts harden. Otherwise, lay the dipped cake pops on a cookie sheet lined with parchment paper.
- Make the icing while the cake pops set. You can also place the cake pops in the fridge for 10-20 minutes so they set quickly.
Decorate the Cake Pops
- In a mixing bowl, add the powdered sugar and meringue powder and water and mix until combined and you have the desired texture for your royal icing.
- Separate the icing in to two bowls and add the green and black food coloring to each batch. Transfer the royal icing to piping bags and decorate the cake pops.
- Let the royal icing harden before serving the cake pops!
Video
Notes
- Baking the Cake: Use a toothpick to probe the center of the cake. If it comes out clean, the cake is done. Adjust the cooking time accordingly.
- Making the Cake Pops: Be sure that the cake is completely cool before mixing it with the buttercream. We don’t want the buttercream to melt!!
- Cake Pop Coating: Use some coconut oil to thin down the melted candy melts. Otherwise, the candy melts may be too thick to get smooth and complete coverage of the cake pops. Just add a teaspoon of coconut oil at a time, but don’t add too much; otherwise, it may not set once cool, and the candy melts won’t be as shiny.
- Royal Icing: Too much water in the royal icing will make it too runny, and you won’t be able to pipe clean details into the cake pops. Make sure the royal frosting is thick but still pipeable so that it keeps its shape once dispensed on the cake pops.
Nutrition
Nutrition information is automatically calculated, so should only be used as an approximation.

This is adorable!